Apart from building the boat itself, there are quite a few side projects to be done, either as separate items, or sub-assemblies for later fitting to the hull
The separate items are the centreboard and rudder assemblies which can be done in parallel. The rudder was interesting, as it incorporates a lead weight, aswell as quite a complicated stock assembly. I learnt a few more tricks along the way.
The centreboard is quite easy, consisting of two laminates, which are then faired fore and aft, and this is where the belt sander came in handy. The entire blade is then epoxied and glass sheathed. I used 20 gsm glass for this, on the basis that it would render everything stiff enough, while providing adequate protection when grounding.
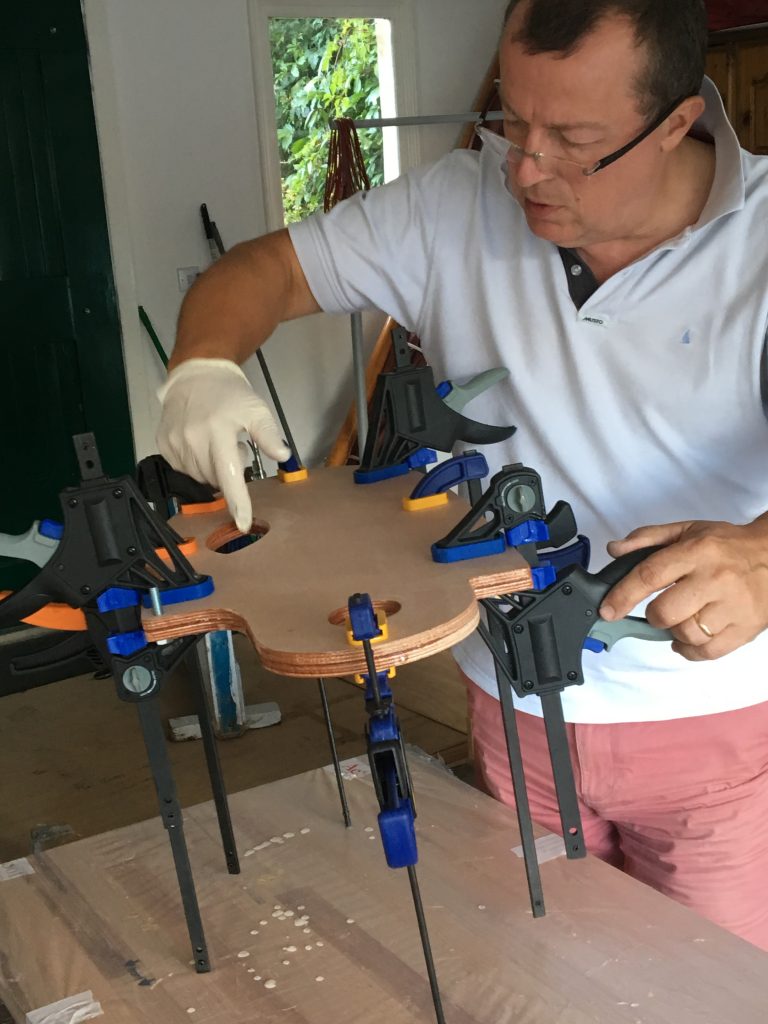
Forming the rudder sandwich……. 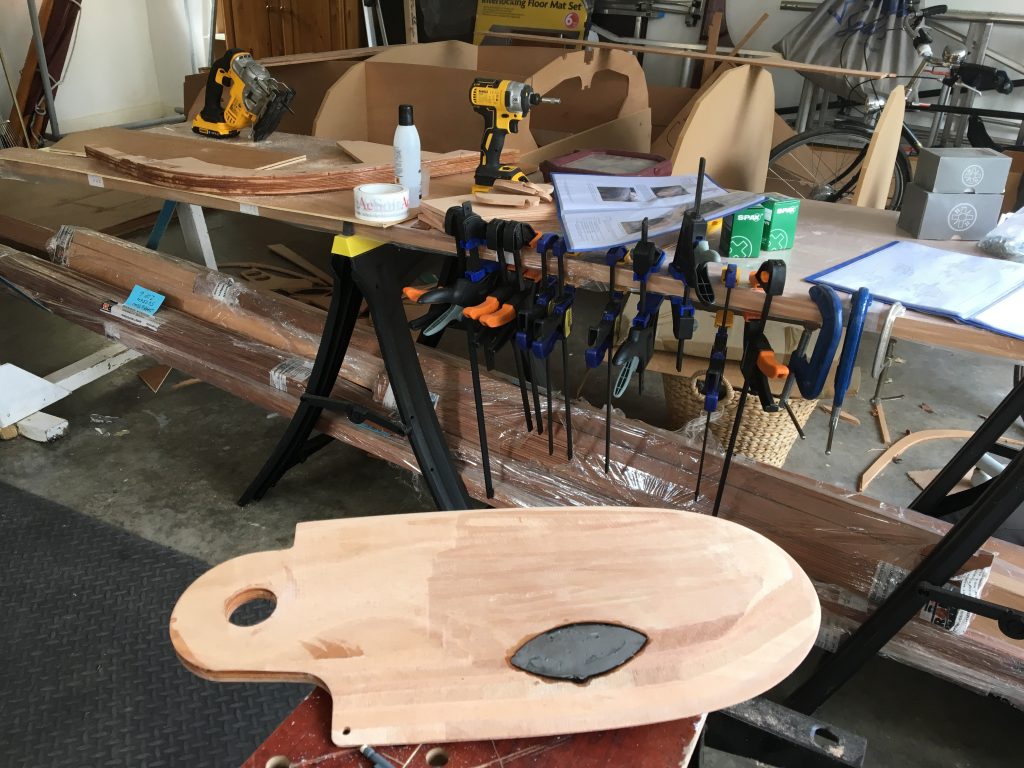
and inserting the lead plug 
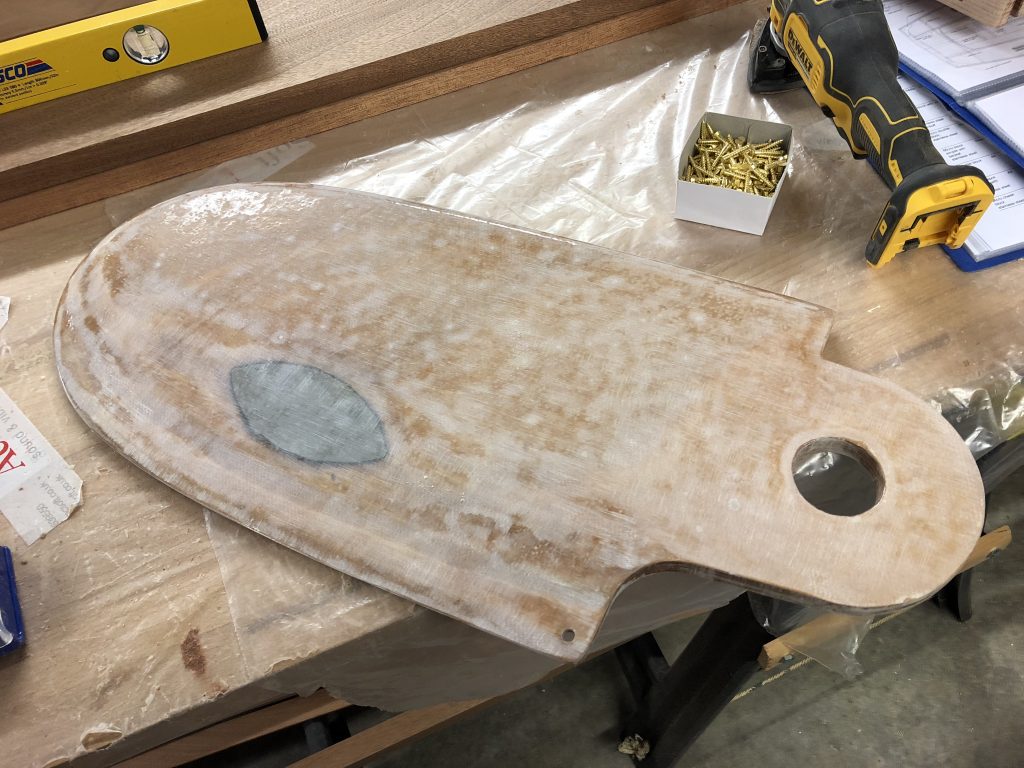
The rudder blade is similar, except a lead insert had to be cast, to make it heavy enough to drop in use. I used a old Camping Gaz stove to heat up a baked bean tin, with pellets of lead (you can buy them as fishing weights). The lead is cast directly into the blade, after first inserting three or four screws inside the hole, so the weight would not subsequently fall out. I found it quite easy to fair the blade afterwards, although I’m sure I wasn’t supposed to use a power planer for that!

The stock is just a case of following the instructions – I did consider making the stock permanently closed for strength, but I can see the logic for being able to take it apart for maintenance. It seems to be strong enough in practice. Make sure you use plenty of epoxy in areas which will not be seen, such as inside the stock itself.
The other two main sub-assemblies have to be done quite quickly – the inner stem with Station 5 bulkhead, and the centreboard case. The inner stem is easy, but the outer stem is where you need as many clamps as possible, to slowly build up the assembly with the 2mm laminates.

The centreboard case assembly ready to go 
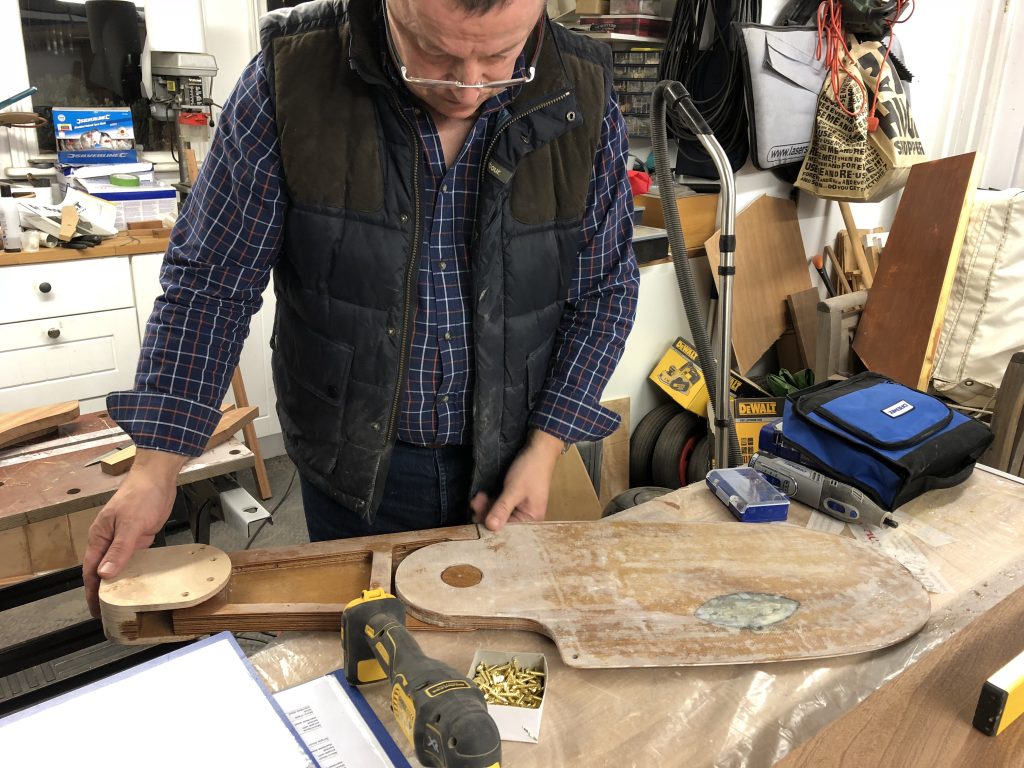
Note the centreboard assembly on the left, and the rudder parts ready for assembly
The centreboard case is quite straightforward – the only complicated bit is fairing the logs with the correct curves for the sole – there is a template in the kit to help you with that. Make sure you put at least two coats of epoxy in the inside faces before assembly, as you won’t get a chance to do it later!