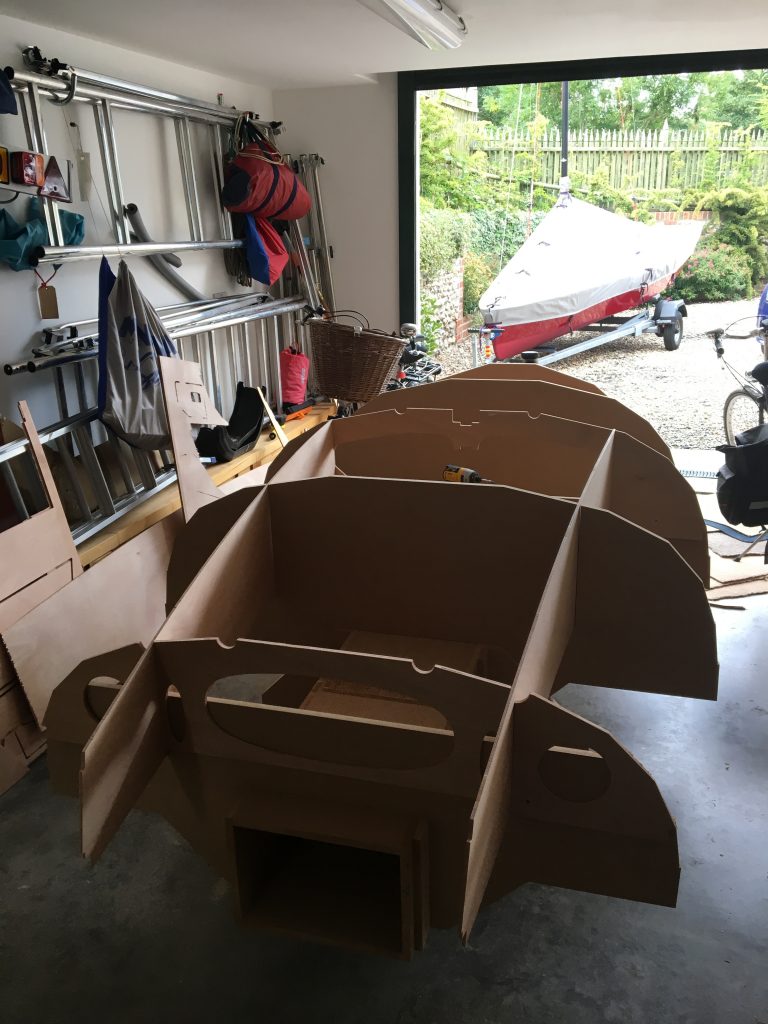
To build the kit so that it’s fair and square, a frame is needed, onto which the strakes are built up. This consists of a square section tunnel, made of MDF, onto which the station templates are slotted in the right position. Most of these templates are temporary, but some parts stay with the boat, such as Station 1, Station 3 and the forward bulkhead at Station 5. It’s worth measuring everything three times, as any mistakes now will cost dear.
I did have one hiccup, where part of the frame that was supposed to hold the forward bulkhead at the right position just wouldn’t fit in the right place, but a quick email to Francois confirmed that one of the drawings was incorrect, and a new page was sent. If your plans date after March 2017, then you should be OK. Phew!
Slight panic as one of the frames doesn’t fit!
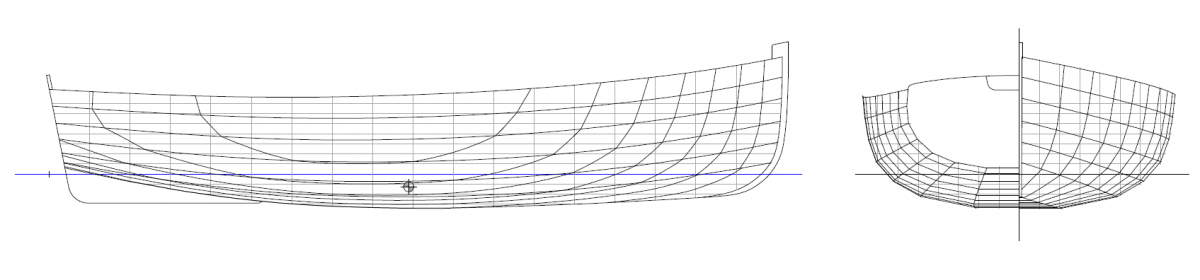
Once the frames are in place, it’s easy to see how the boat will take shape, and now’s a good time just to run your eye over the lines to see if anything obvious is wrong.
All stations in place, with the side bulkheads in place loosely to check alignment
After a dry run, now’s the time to tape up the edges of the frames with packing or Mylar tape, so the resulting hull doesn’t stick to them. This is especially critical at Stations 1, 3 and 5, as well as Station 2 where the sidetank bulkheads pass through the frame. The strakes will be glued to these bulkheads but NOT to the frame, otherwise, you’ll have a problem!
The paperwork from Vivier Boats includes a parts list, drawings and a basic manual, which if you follow it through, will just about get you there. But there are some basic skills which I needed to get clear in my mind, so I wondered if there was something like a basic boatbuilding book I could read in the wee small hours.
My prayers were answered by the ‘Clinker Plywood Boatbuilding Manual’ by Iain Oughtred, which quickly became my bible, and ended up as covered in epoxy as most of my clothes. The clue is in the title – it is a veritable collection of hints and tips, backed up by examples and photographs, which you can use to confidently complete the project.
I have to admit that one of the great things about a project like this is that you have to buy some extra tools. Being a gizmologist, I needed no second chance, so here are my thoughts on what you might need:-
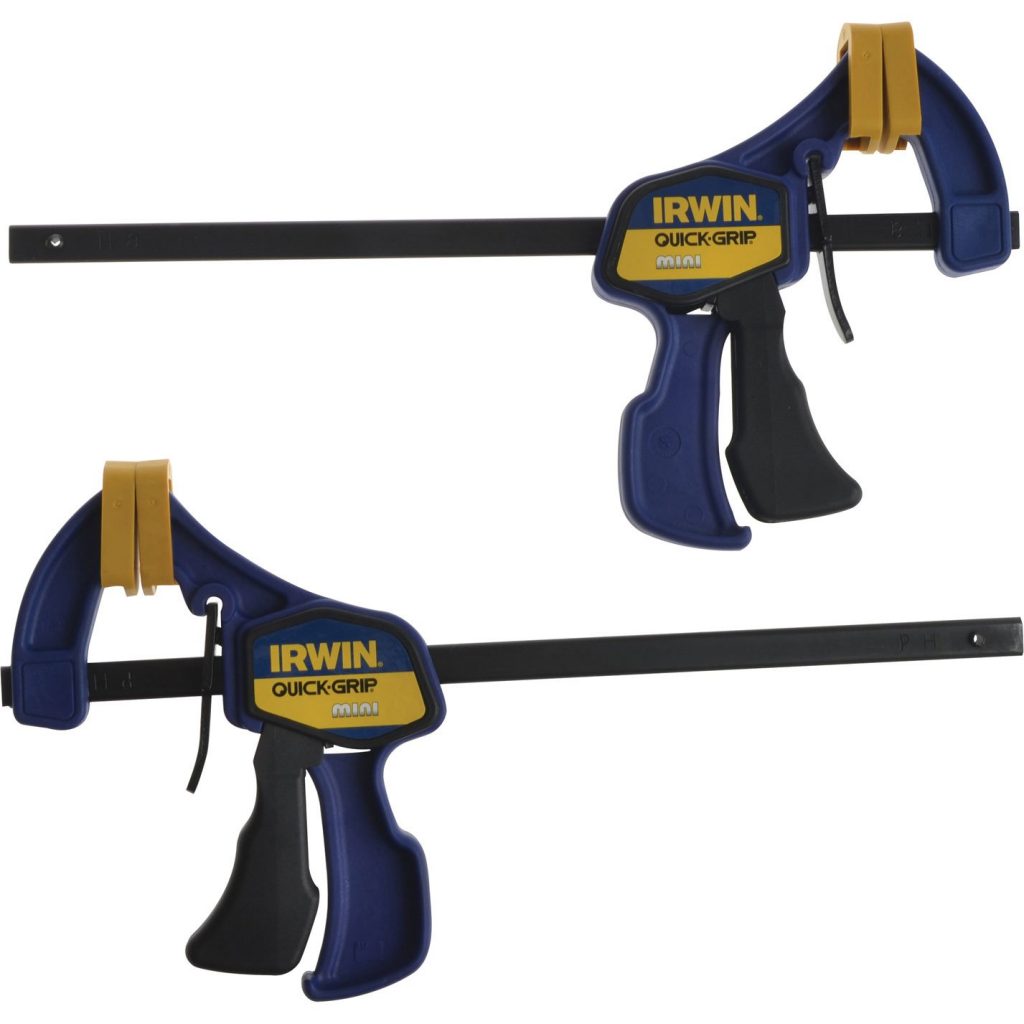
Lots of clamps (or cramps as some people call them). I had a few old G-cramps in the cupboard, but these natty new quick grip ones are essential. I bought some Irwin ones in various sizes (see below) but you can get others quite cheaply on Amazon or at Wickes.
Power planer, jigsaw, power drill/driver and decent router. I went for the 18V Dewalt battery range – not cheap, but on the adage that a bad workman always blames his tools, buy the best you can, and then you have no excuse! The router is a Bosch beast which has already come in handy. Make sure the tools have dust extraction ports, and hook them up to a vacuum cleaner like a Henry or Bosch AdvancedVac. It keeps the workshop much more manageable
A belt sander might sound like a crude tool, but it’s a great way of achieving good scarfs, and fairing bits of the hull
Consumables like syringes, latex/nitrile gloves, tongue depressers (big lolly sticks), mixing pots, glass fibre matting, packing tape, and polythene sheeting (my Amazon purchase history looks like I am a drug addict)
Work area – I was lucky in that when I built my storage cabinets in the garage from a special offer kitchen range at Wickes, they sent me two extra 2.5m worktops by mistake. I knew they would come in handy, so I mounted one on four trestles and covered it in polythene sheeting to stop the epoxy sticking. If you have the space, I strongly recommend you do the same, as you need that surface to scarf the hull panels with the best alignment.
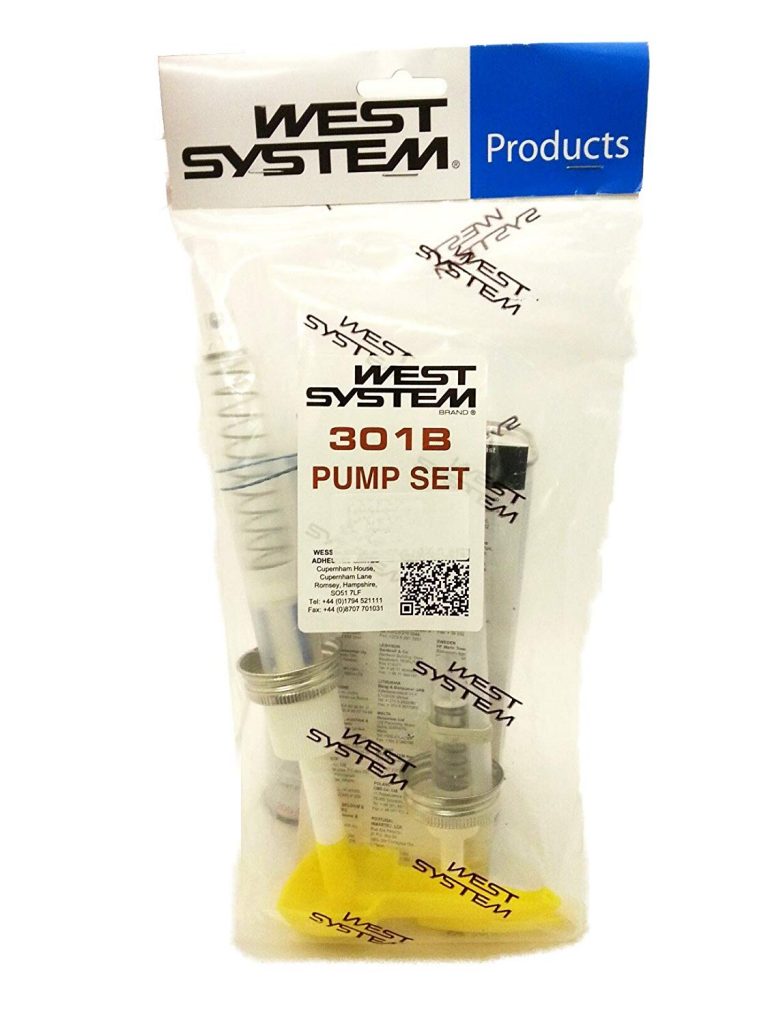
And last but not least, you need something to stick it all together with. I bought a large 5kg can of West 105 epoxy, with the 205 fast hardener. This is convenient if doing small jobs, but does not have much of a pot life if doing larger coverage, like glass work. For that, it’s a good idea to have some 206 slow hardener to hand. Also, buy the dispenser pumps – it makes it easy to get the right mix ratio.
Along with the epoxy, you’ll need some colloidal silica for filleting, and of course some microballoons for thickening/gluing. The West website has many hints and tips which you can download. I managed to do the whole build with one 5kg can of epoxy, but it was tight!
You will of course need a fair selection of brass screws, aswell as normal steel chipboard screws, for temporary fixing, but you can get these as you go along. Boxes of screws are surprisingly cheap at Toolstation or Wickes.
And finally, did I mention clamps? You really can’t have too many!