As mentioned elsewhere, I chose the Epifanes two pot scheme for finishing – I hate to think what the total paint bill was, but I don’t expect any maintenance for a while
The base is the epoxy primer, which fills very well, and doesn’t really need sanding between coats, as long as you don’t leave it too long.
At least the stem, skeg and centreboard slot line up!
After the first coat, you should be able to see if anything needs filling/smoothing, after which a second coat is a good idea
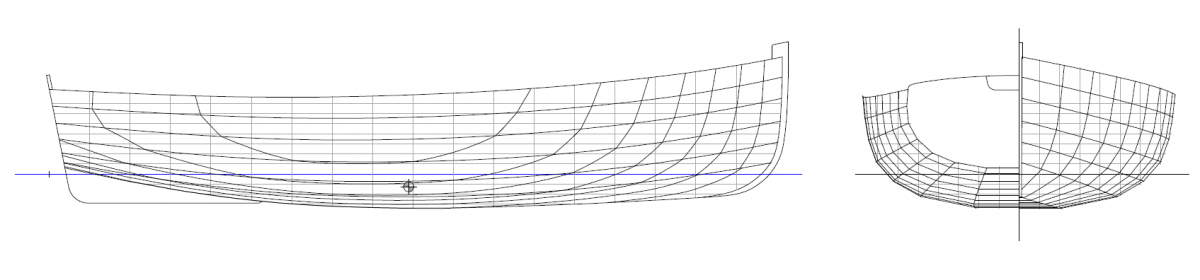
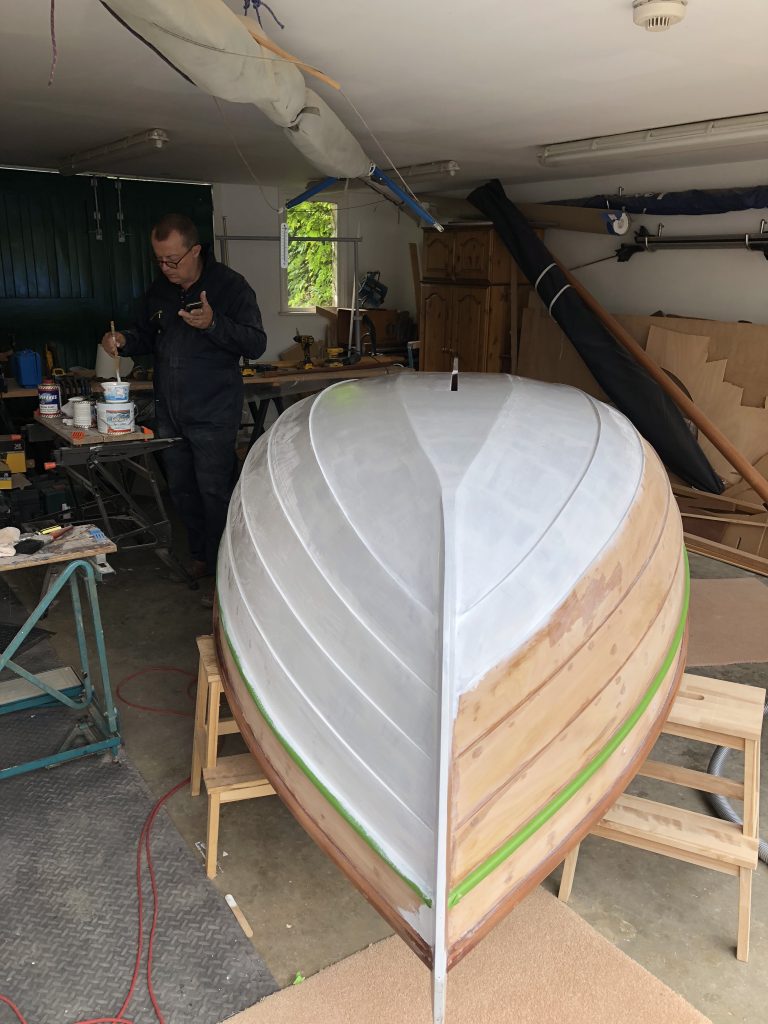
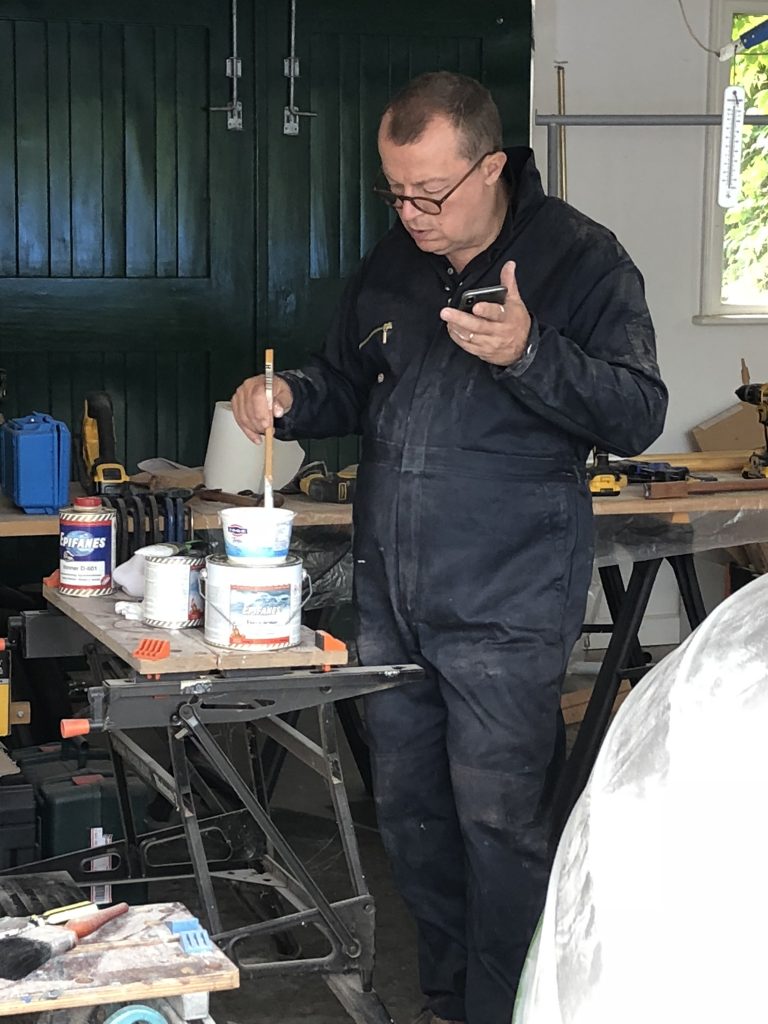
Technical support calls can still be done!
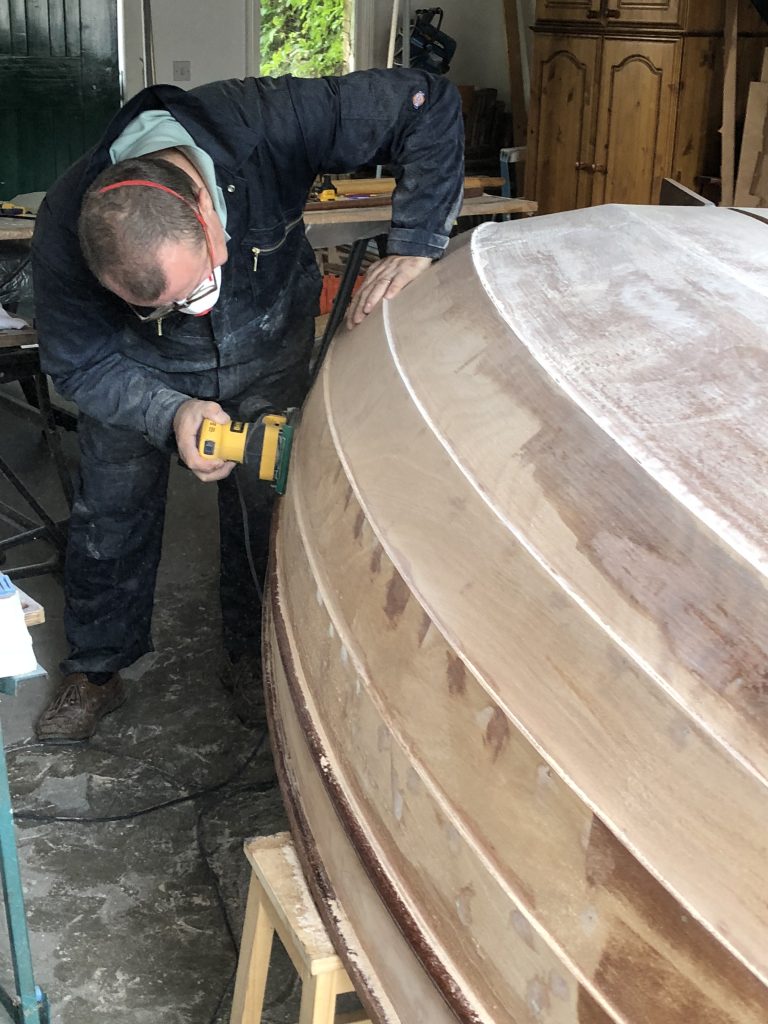
Sanding off the filler before the second coat
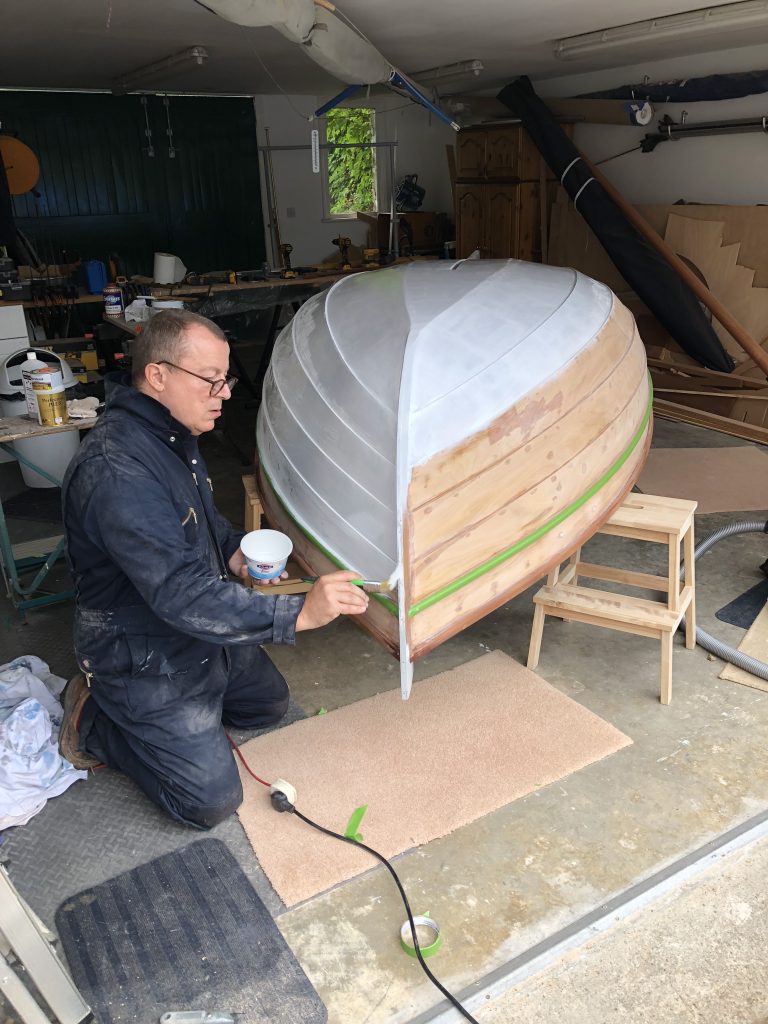
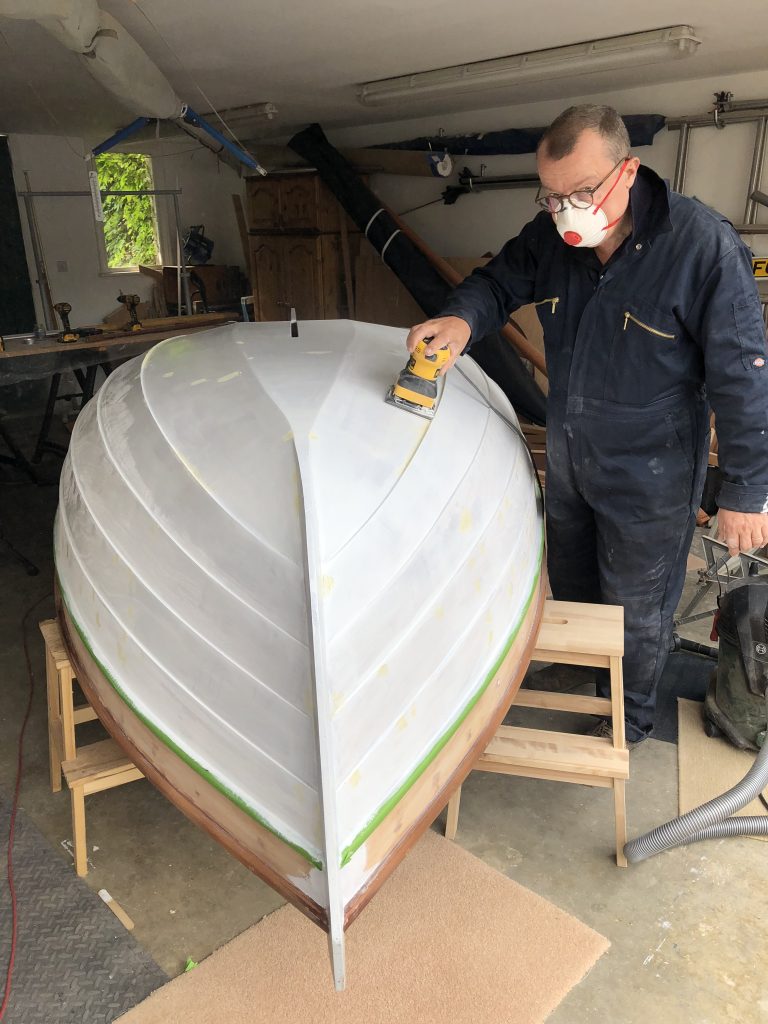
By now, things should be looking good, with all the clinker lines looking smooth, ready for the topcoat
As with the interior, the next part is just hard work, filling in any screwholes/dings, and then sanding sanding sanding. Using 40 or 60 grade glass paper is fine for this, as the epoxy primer/undercoat has good filling capabilities.
A mask is essential – now is not the time to develop an epoxy allergy
Hot noisy work
Once the finish is acceptable, give it a good hoover and a wipe down with a tack rag or three. Then the lower rubbing strake is masked off with Frog tape ready for painting with epoxy primer
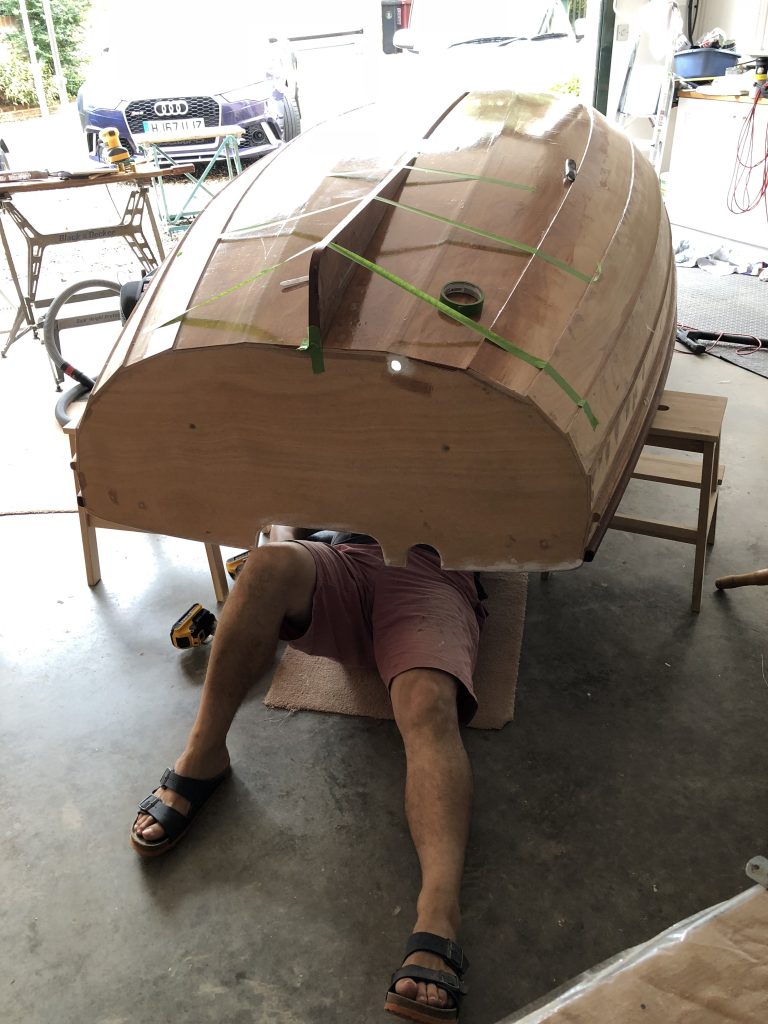
Now for the next turnover. The hull is quite a bit heavier now, with all the additions and finishes, but still easily manageable with two people.
In order to get the working height comfortable, I invested in four BEKVÄM step stools from IKEA. How they do these for £14 each, I don’t know! Even at the current price, they are a bargain, and will come in handy for many things in the future.
With one at each corner, it was then easy to level up the hull with small chocks, until the proposed waterline was level.
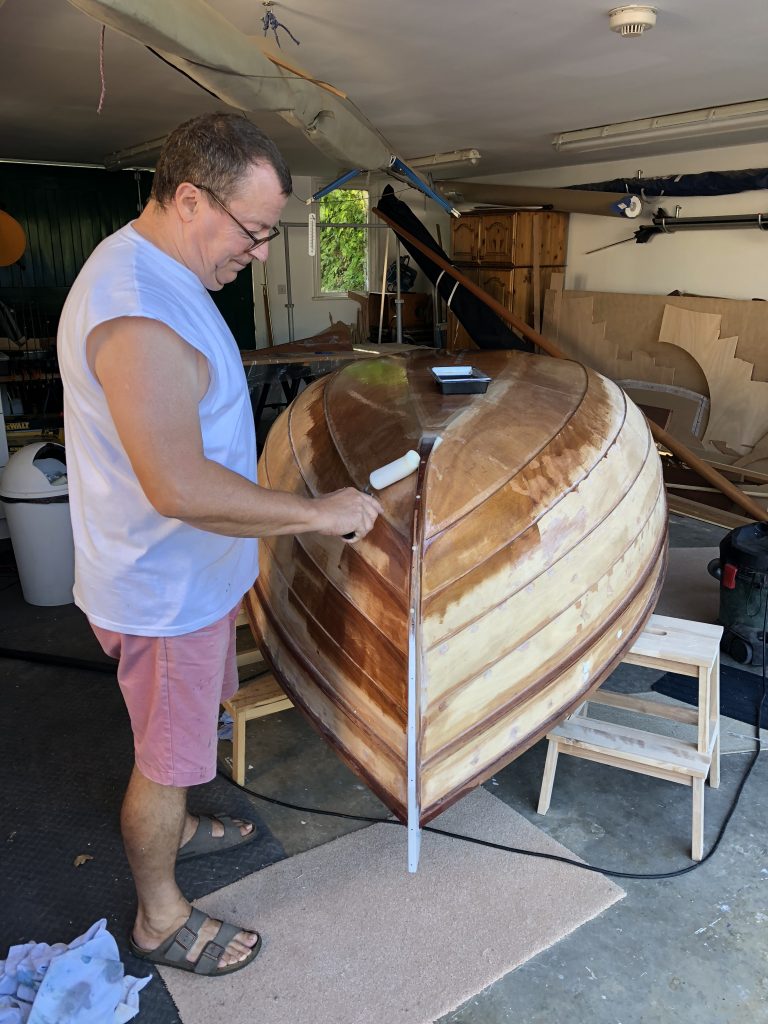
Next job is to cover the sole and garboard strakes with 30gsm matting, to make the bottom really robust for possible beaching on East Head. You’ll need some sacrificial rollers, and plenty of epoxy. It’s probably best to use the 206 slow hardener, otherwise this will become unworkable quite quickly in the summer months.
Yes I know I should use gloves but it was so hot, even in a wifebeater shirt!
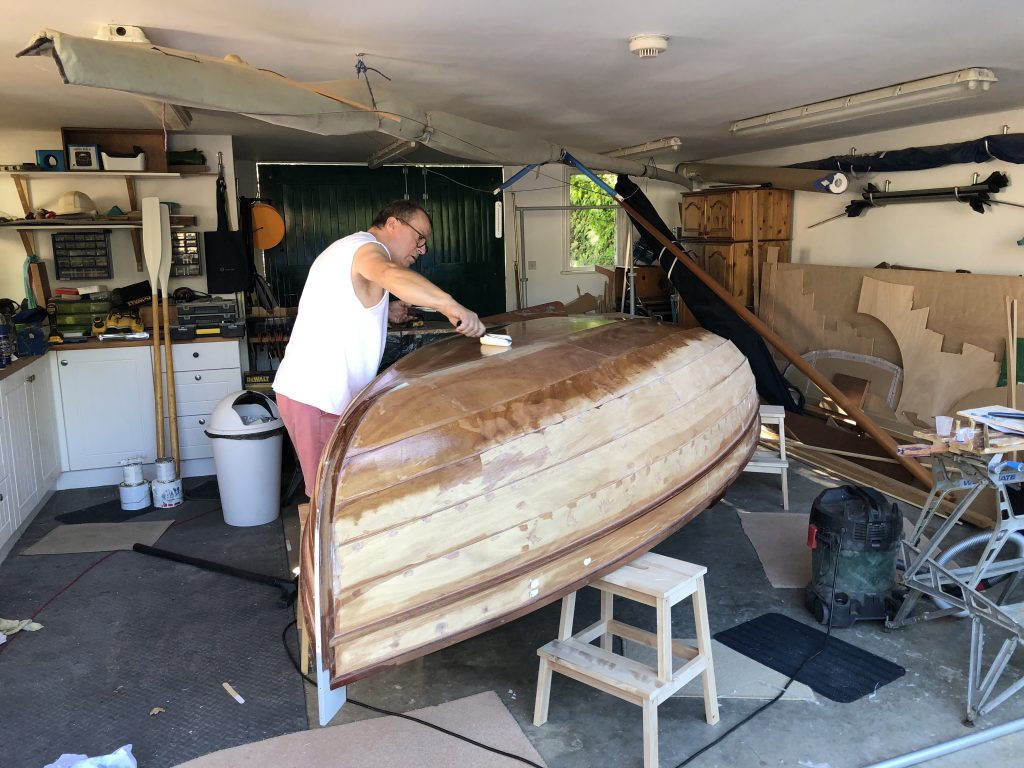
Note the Bekvam stools
After the second coat of epoxy, the finish is surprisingly smooth, even taking into account the tapes already on the sole joint.
Next up, fit the skeg. This is a bit fiddly, as it needs to be aligned first, and then drilled from underneath – it’s useful to have a friend to hold it in place while you drill the pilot holes. Once fitted, the skeg is filleted both side, to make a really strong joint
Note how smooth the bottom is, even before any sanding and preparation
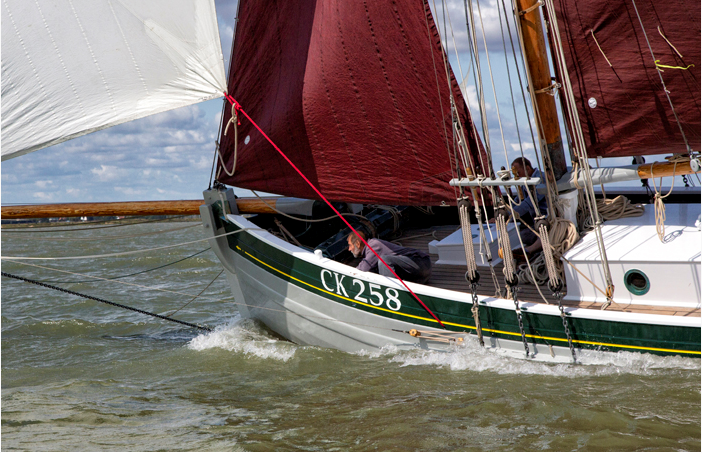
As an Essex boy, coming from the Blackwater estuary, my boat aesthetics have been influenced by the local working boats. One such is the Colchester smack, an evolved working boat designed for oyster dredging and herring netting. With their low counter stern, they always look elegant, and many are now being dug out of mudberths and put back into, albeit leisure, service. The colour scheme was often grey hull, with contrasting sheer strake, as shown by this photo of Charlotte Ellen below.
Charlotte Ellen, CK258, 43′ Oyster Smack, Built Brightlingsea 1906
So, the colour scheme of this little Morbic was going to be grey, with green sheerstrake, and white bottom, which will help make her look a little less chubby.
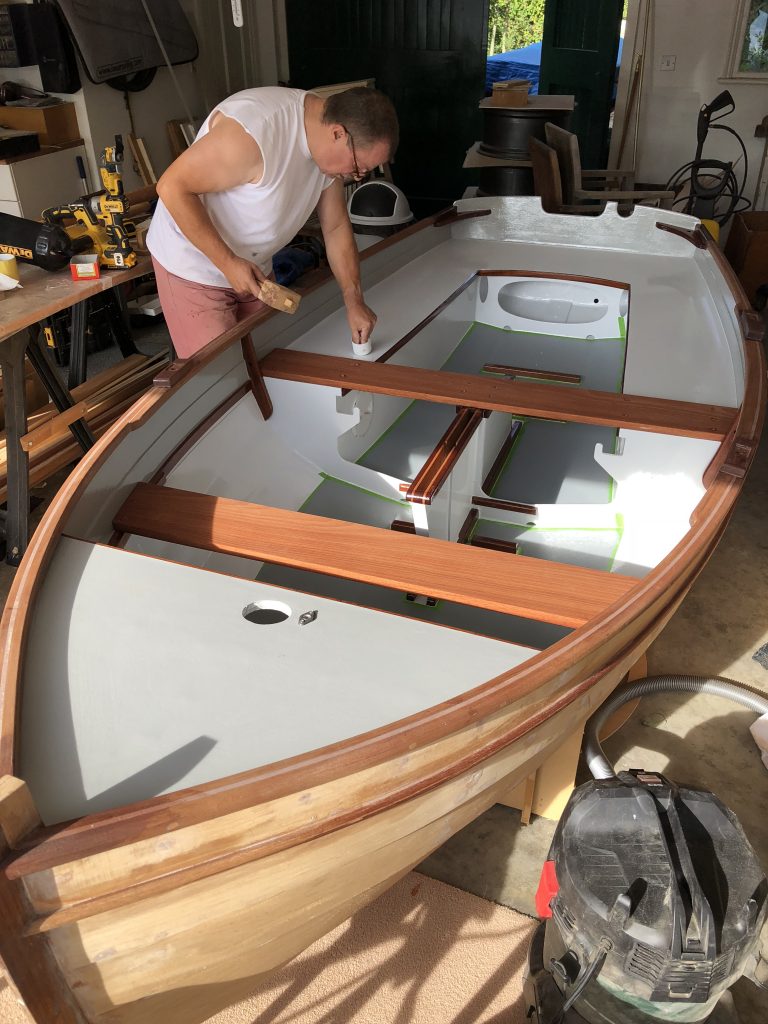
Again, I went for the Epifanes two-pot polyurethane products, which have proved excellent in the past. It’s expensive stuff, but hopefully will not require much maintenance in the near future.
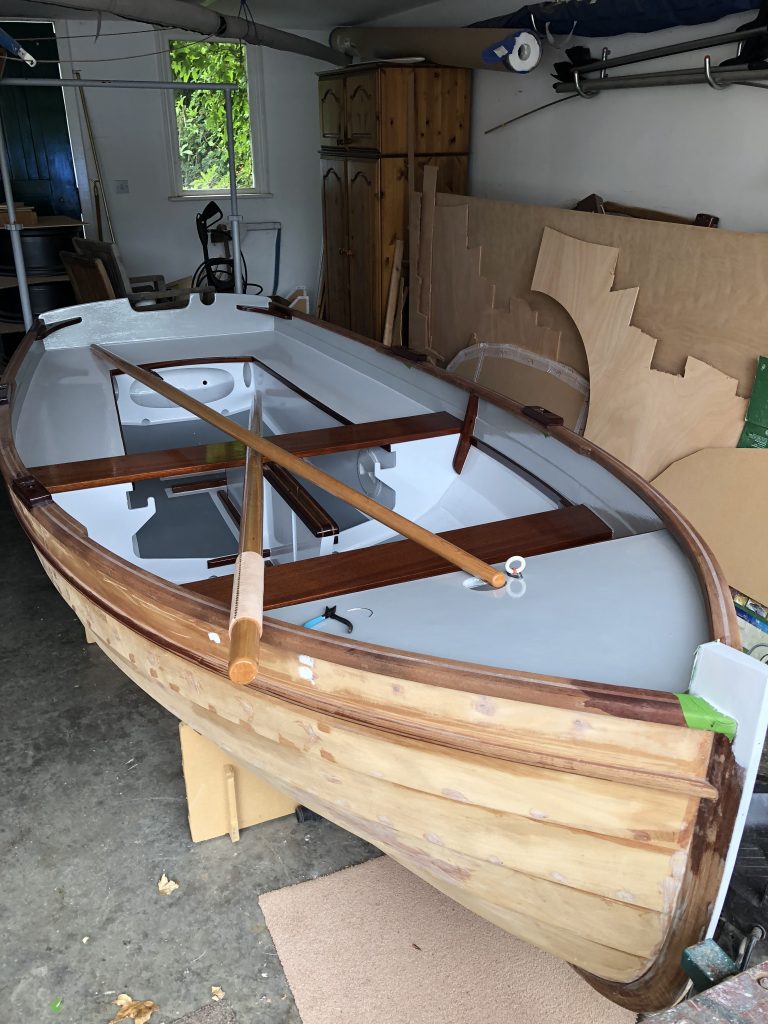
After fitting the thwarts, the inside can now be finished. I decided to go for an off-white polyurethane for the bulk of it, to avoid too much glare while sailing. I used a darker grey above the seat riser. This gives a nice impression, and it breaks up the cockpit.