Apart from building the boat itself, there are quite a few side projects to be done, either as separate items, or sub-assemblies for later fitting to the hull
The separate items are the centreboard and rudder assemblies which can be done in parallel. The rudder was interesting, as it incorporates a lead weight, aswell as quite a complicated stock assembly. I learnt a few more tricks along the way.
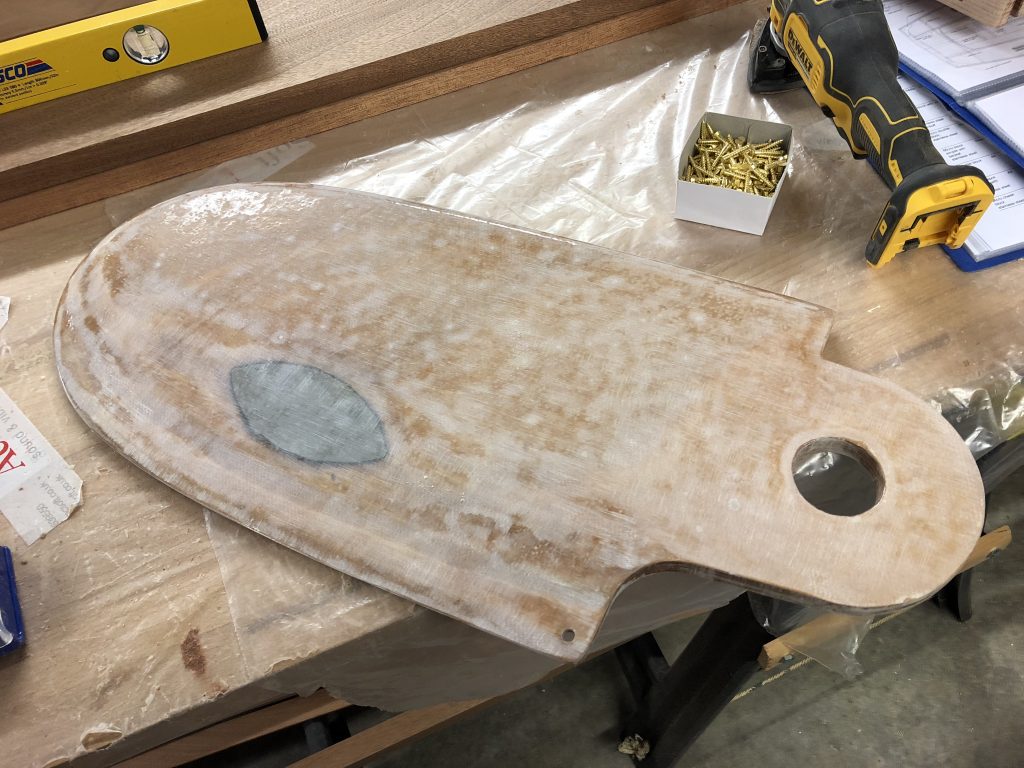
The centreboard is quite easy, consisting of two laminates, which are then faired fore and aft, and this is where the belt sander came in handy. The entire blade is then epoxied and glass sheathed. I used 20 gsm glass for this, on the basis that it would render everything stiff enough, while providing adequate protection when grounding.
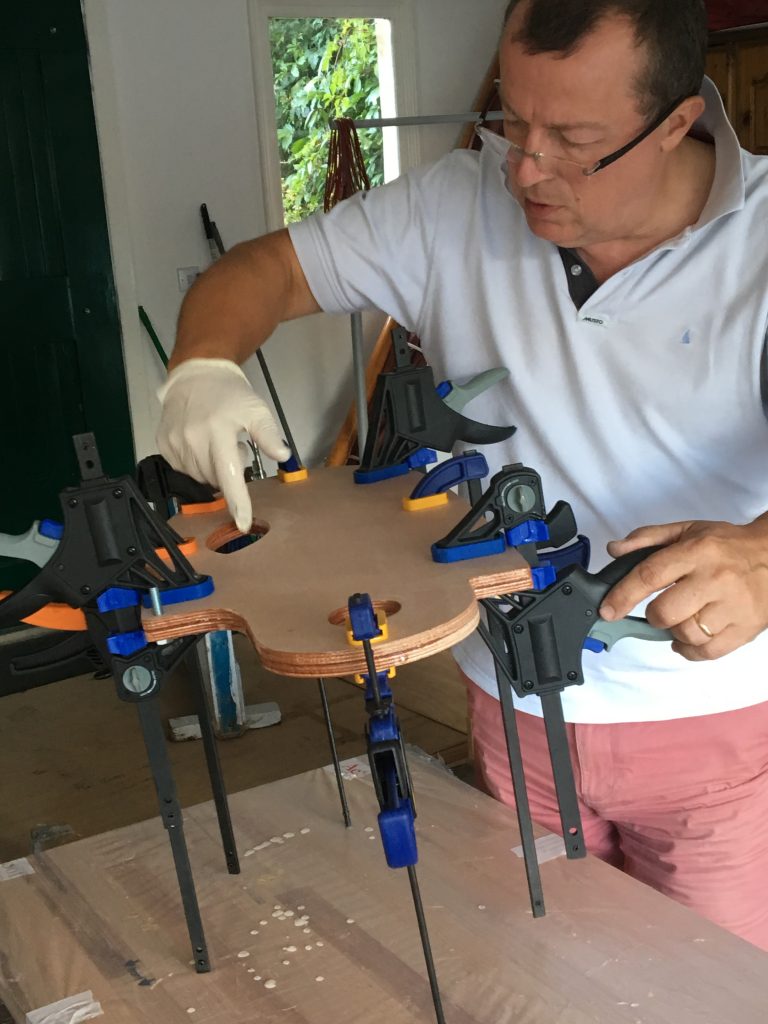
Forming the rudder sandwich……. 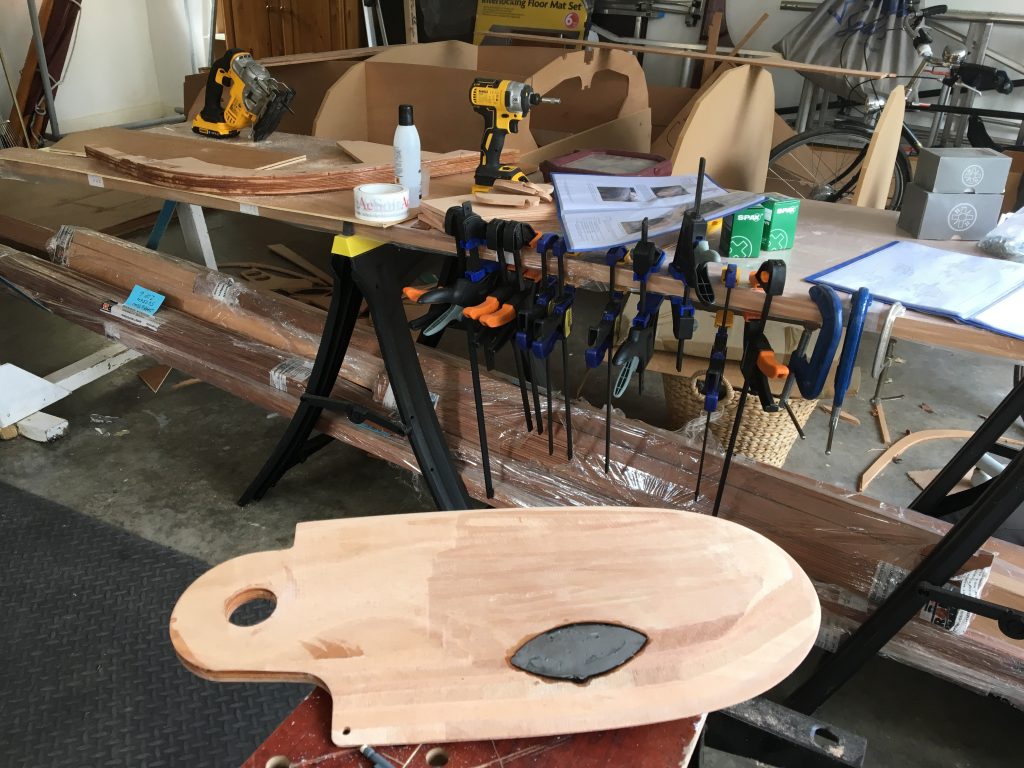
and inserting the lead plug 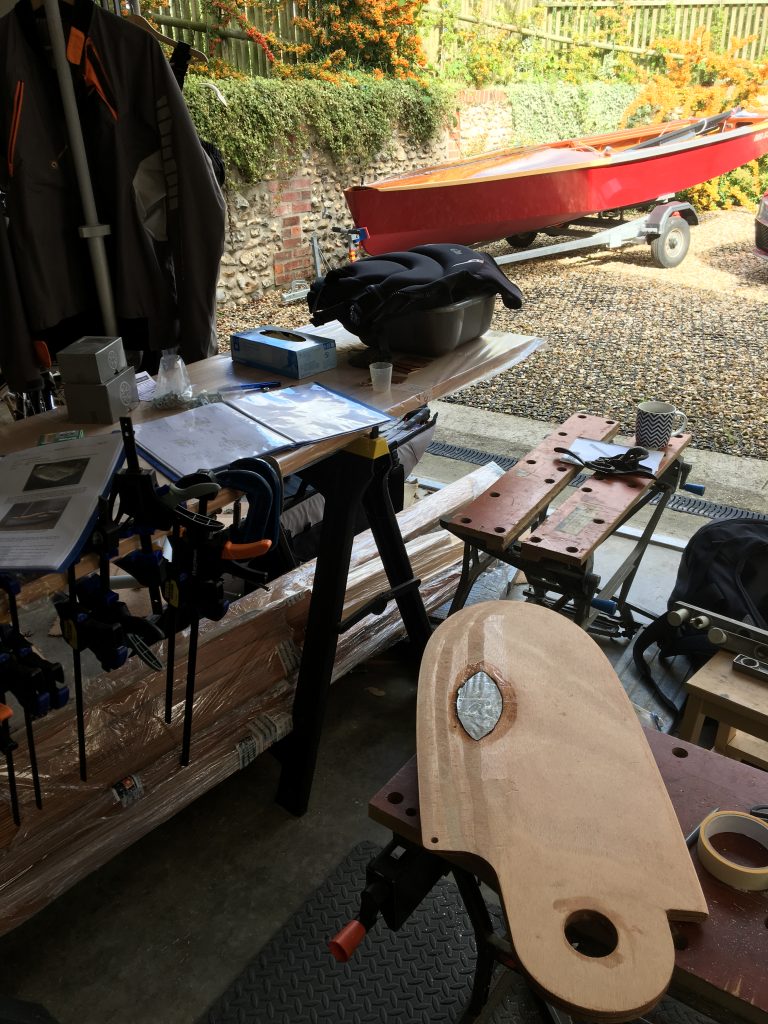
The rudder blade is similar, except a lead insert had to be cast, to make it heavy enough to drop in use. I used a old Camping Gaz stove to heat up a baked bean tin, with pellets of lead (you can buy them as fishing weights). The lead is cast directly into the blade, after first inserting three or four screws inside the hole, so the weight would not subsequently fall out. I found it quite easy to fair the blade afterwards, although I’m sure I wasn’t supposed to use a power planer for that!
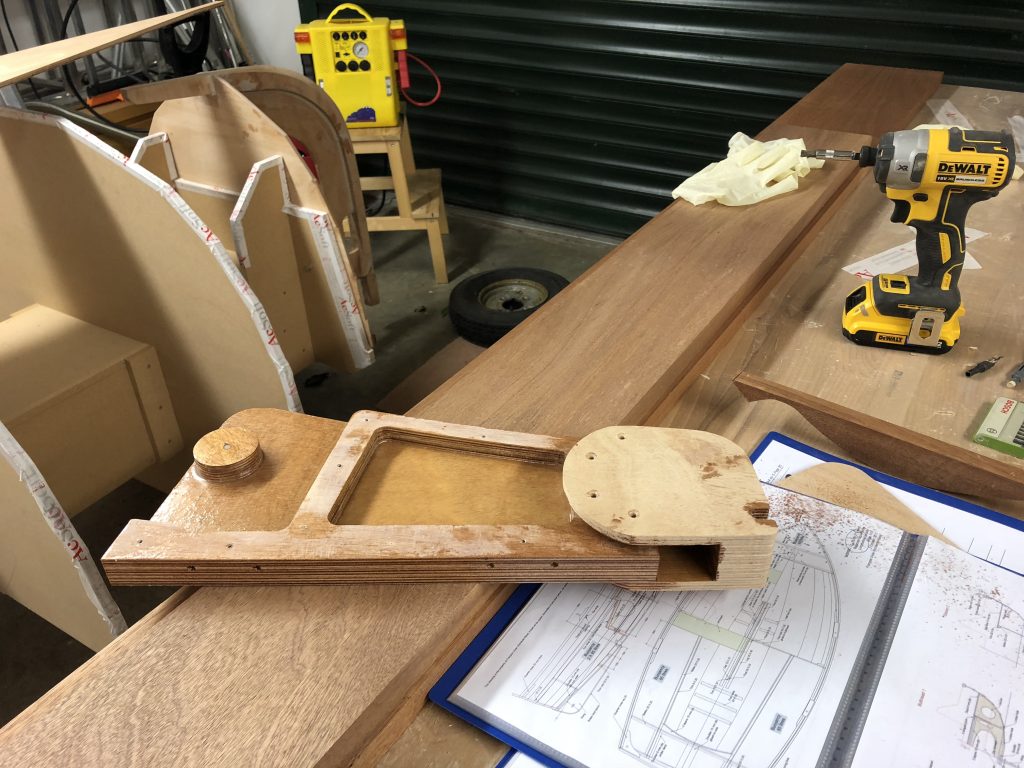
The stock is just a case of following the instructions – I did consider making the stock permanently closed for strength, but I can see the logic for being able to take it apart for maintenance. It seems to be strong enough in practice. Make sure you use plenty of epoxy in areas which will not be seen, such as inside the stock itself.
The other two main sub-assemblies have to be done quite quickly – the inner stem with Station 5 bulkhead, and the centreboard case. The inner stem is easy, but the outer stem is where you need as many clamps as possible, to slowly build up the assembly with the 2mm laminates.
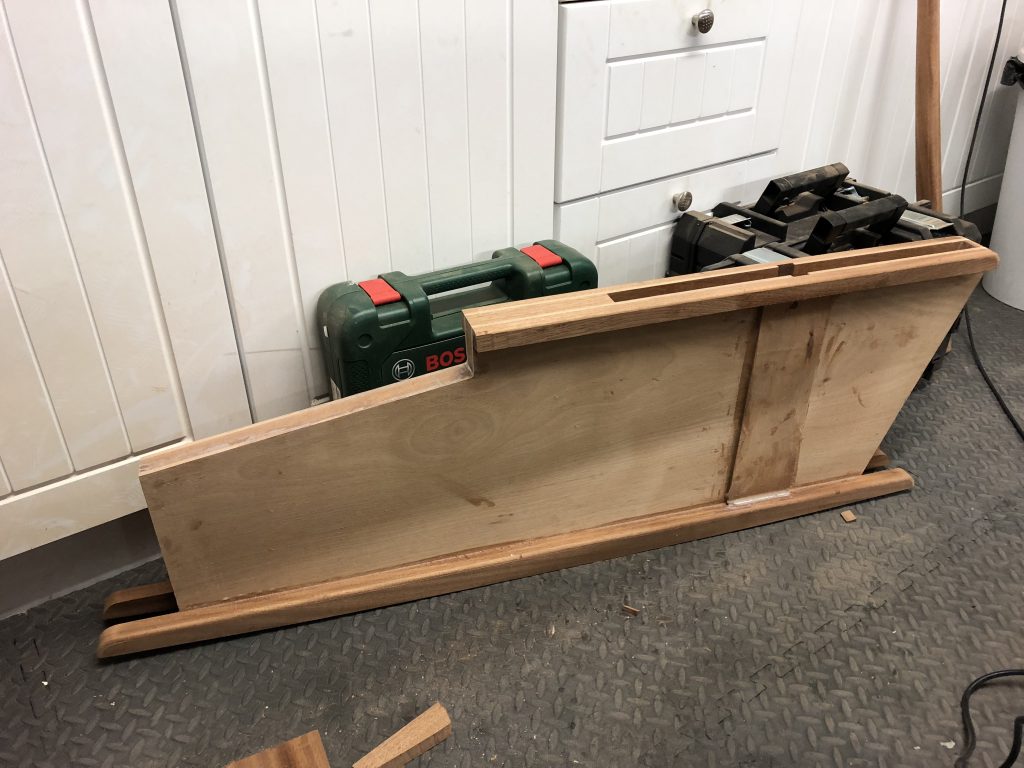
The centreboard case assembly ready to go 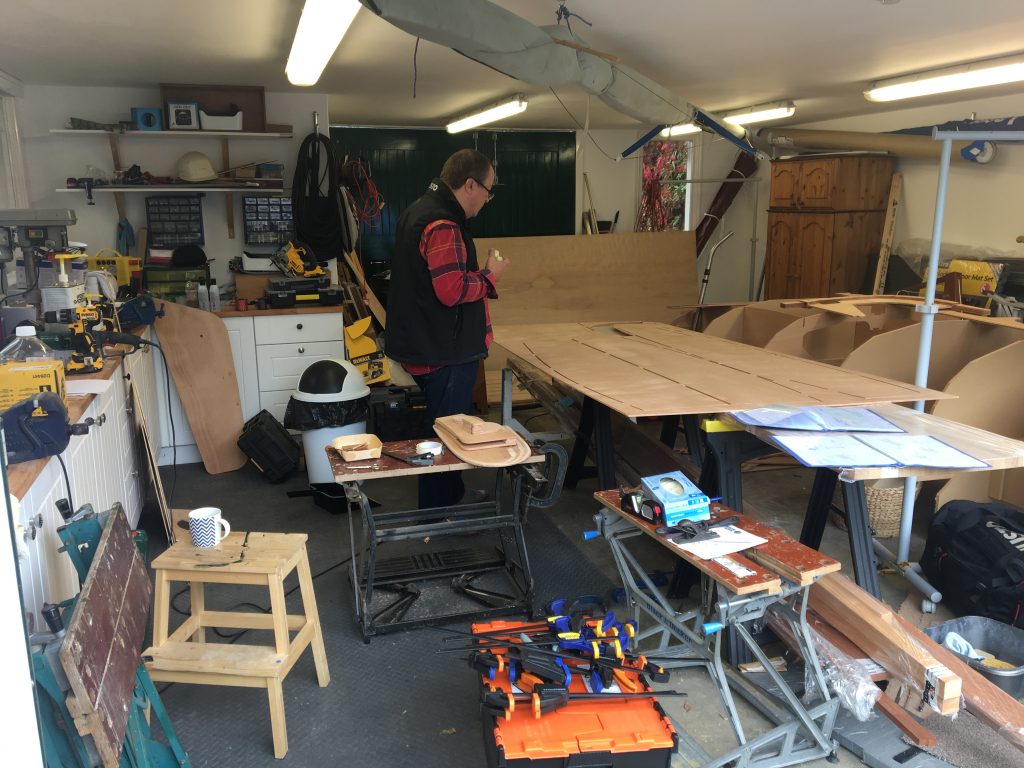
Note the centreboard assembly on the left, and the rudder parts ready for assembly
The centreboard case is quite straightforward – the only complicated bit is fairing the logs with the correct curves for the sole – there is a template in the kit to help you with that. Make sure you put at least two coats of epoxy in the inside faces before assembly, as you won’t get a chance to do it later!

Hi, I’ve been reading a lot on your blog, planning for my version of the Morbic 12. This blog entry seems to be as good as any to ask you this question: how much epoxy did you use in total on the boat? Did you consider adding pigments to the epoxy to paint it, and why did you opt for PU-paint instead?
Did you after all encounter any advantages of priming and gluing the footrests on the sole?
Thank you very much for the detailled description, it helps a lot to visualize any future problems.
Hi Marco
Glad to hear you are going for the Morbic 12. It’s a great little boat and building is great fun!
For the build, I purchased a 105B kit from West, which is 5kg of resin and 1kg of hardener. I used the 205 fast hardener. I thought I was going to run out, so I bought another one, but ended up not using it on that project, so 5kg should be enough.
I didn’t use pigment with that resin – I used Epifanes expoxy primer for the interior of the buoyancy tanks, and for priming the paintwork.
I finished with two-part Epifanes PU. This gives a good gloss finish, and also requires very little maintenance. 2-part PU is not essential, and you can save a lot of money going for single pot PU, but I am lazy, and want to reduce maintenance!
The foot rests are screwed/glued to the sole – the screws have to come from outside the hull, so I pre-fixed the footrests before starting the planking. You can leave it to last if you want, but it’s more inconvenient
Good luck with your build!