You can only put it off so long. Now comes the actual boatbuilding! The first step is to fit the transom on the ends of the side tank bulkheads. The tabs fit into the slots in the transom, which means that these need to be clear of any excess epoxy from when it was laminated. Try dry fitting a few times, to make sure it fits cleanly. When it came to gluing, a did have a small issue aligning it, so ended up using a couple of Spanish windlasses to keep it square while the epoxy went off. Then add some fillets to the joint for strength.
The inner stem/Station 5 sub-assembly also needs to be fitted, with a couple of bolts to the frame.
Then the sole is added. Before fitting this, I glued and screwed the foot rests in place, as I figured it would be easier now than later. I also applied the coat of epoxy and 30gsm matting to the floor, but leaving strips untouched where later joins would be made to e.g. Station 1/3 and the centreboard case.
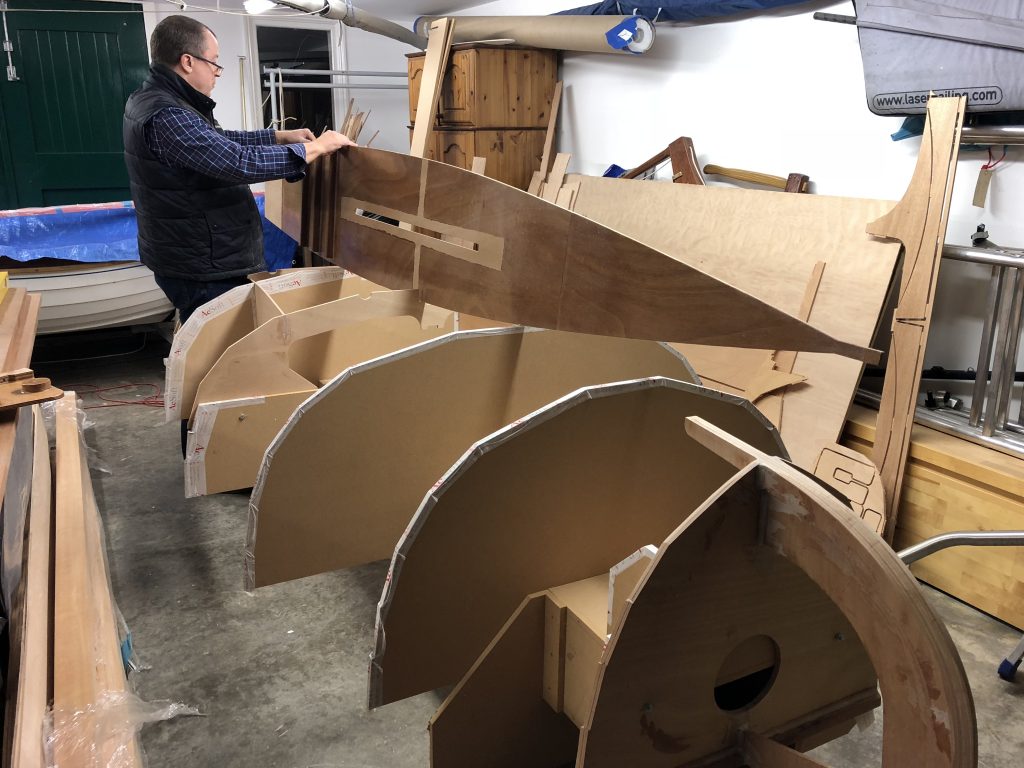
Note that all exposed edges of the MDF frames need to be taped, to avoid any strakes sticking to them. You can see this above.
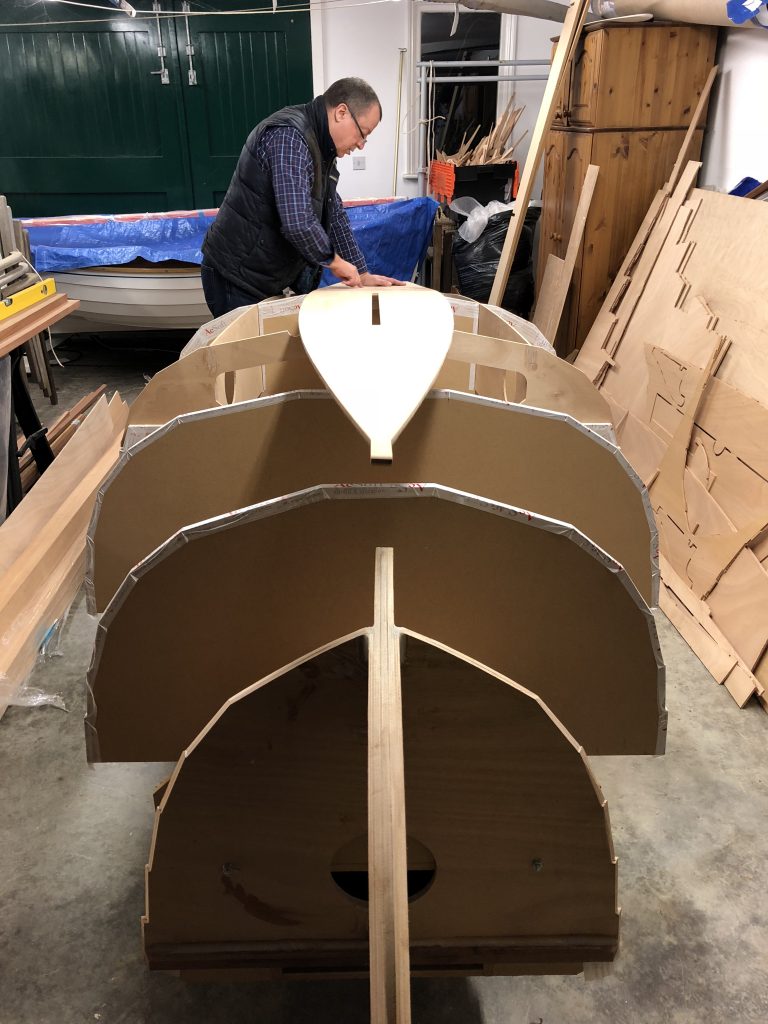
The bulkhead at Station 5, and the inner stem both need to be chamfered for later fitting of the strakes. This is best achieved with careful use of a belt sander, and some scrap ply simulating the strake.
The sole is held in position with some sacrificial screws to the frame and inner stem while setting, and they can be removed afterwards and the holes filled.
The sole is glued to the transom and bulkheads 1, 3 and 5. When cured, it’s a good idea to add fillets to the joins underneath to improve rigidity