Fitting all the innards was back-breaking, as you have to reach in and down into the hull. Firstly, all the joints need to be filleted for strength, both inside and outside the tanks. This is where the syringes and lolly sticks come in
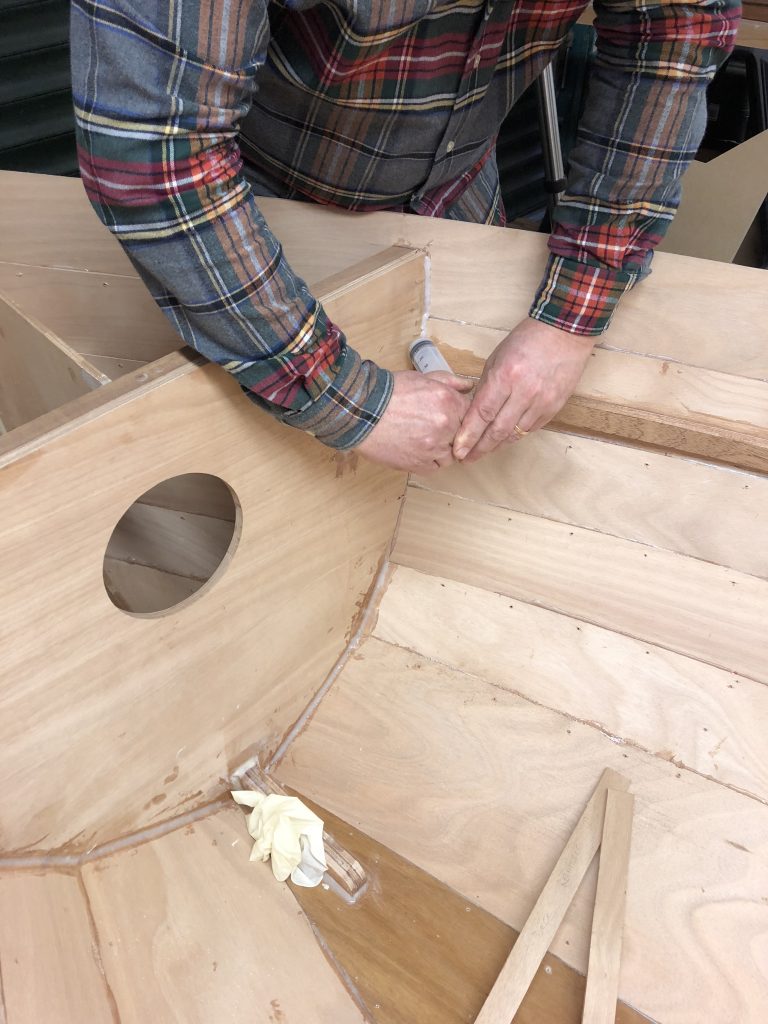
Applying the epoxy with a syringe 
Making a nice fillet with the lolly stick
It was during this process when I started to get the feeling this was going to be a nice sturdy little boat!
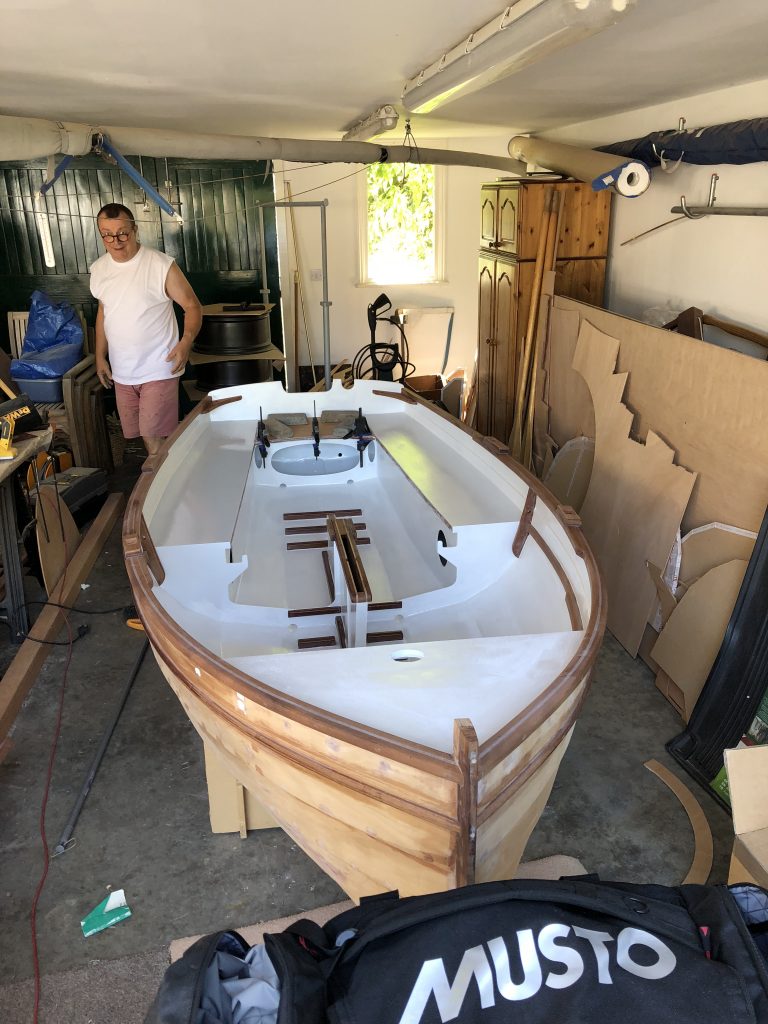
In short order, the seat risers, inwales and gunwales are fitted as well as the various bits of brightwork. The centreboard case can now be glued and screwed from underneath, and filleted to the bulkhead.
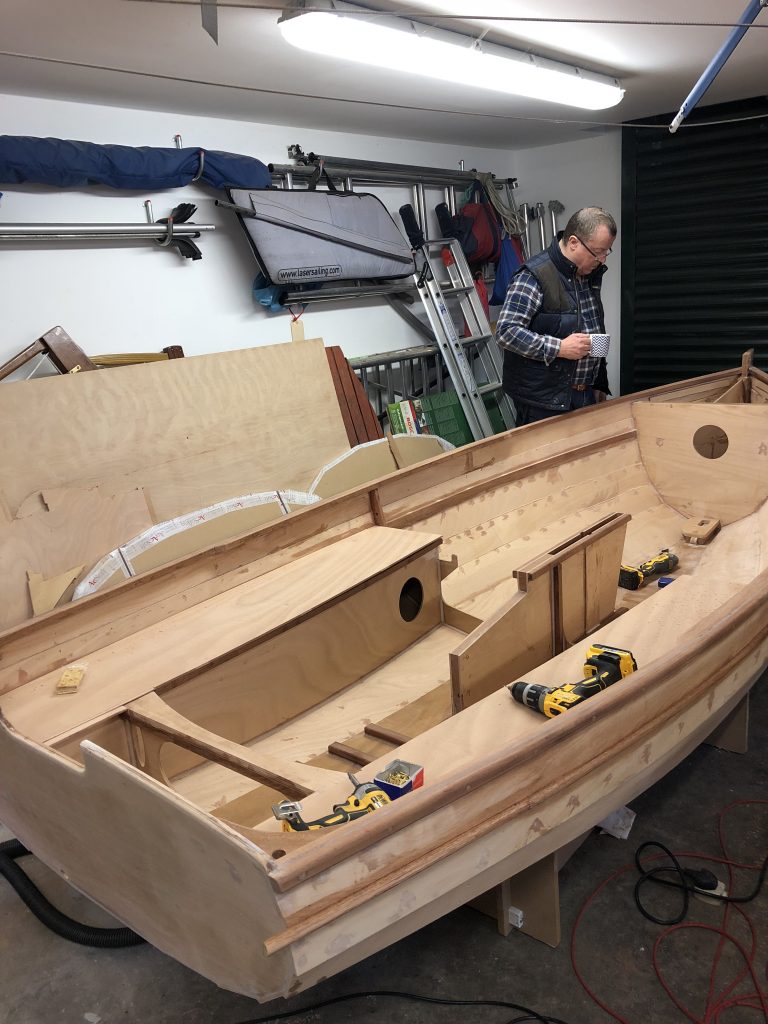
The mast step is fitted and the side tanks dry fitted 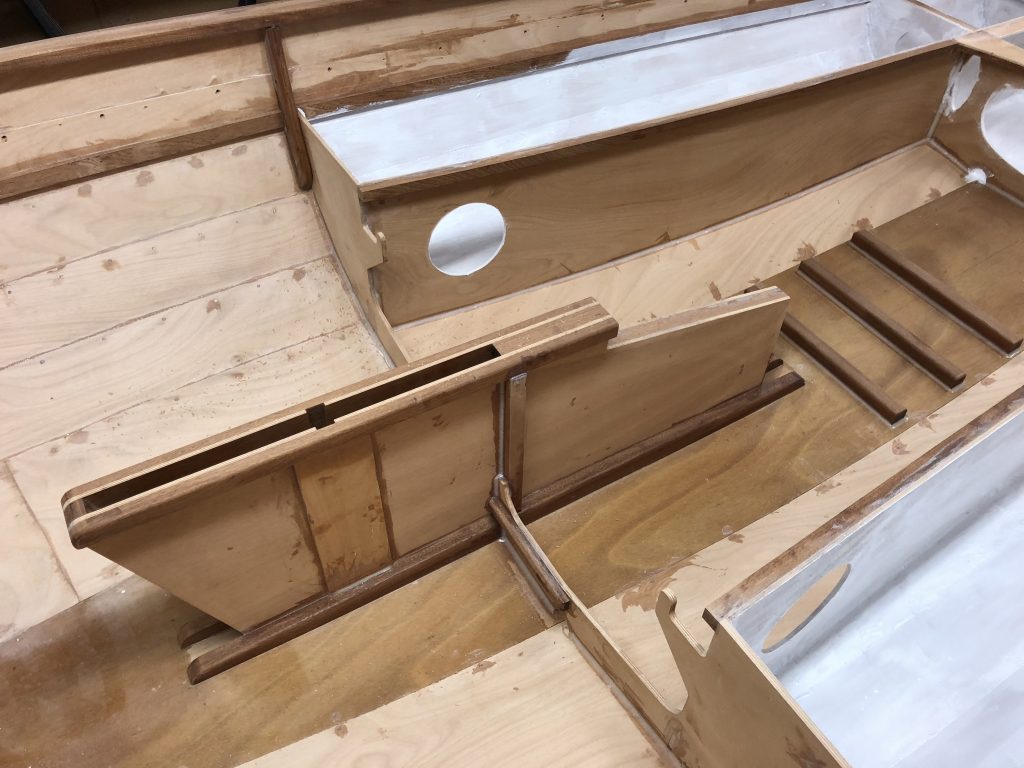
Centreboard case glued and filleted
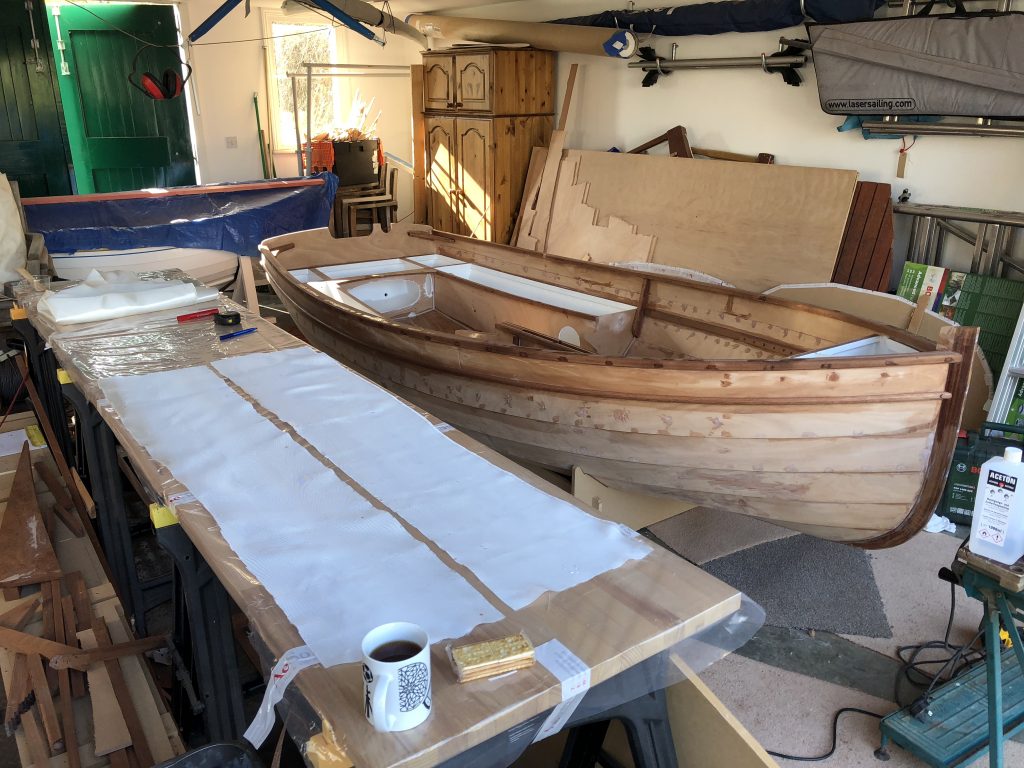
As well as the gunwale in utile, I decided it would be attractive to have the second rubbing bead at the bottom of the sheerstrake. Note that this is NOT in the materials list in the manual, so I had a slight delay while I ordered up the timber.
At this point, I decided I was going to go with Epifanes for the primer and paint, so ordered up a good quantity of epoxy primer and two pot polyurethane. Yes, it’s hells expensive, but it does finish well and means that very little maintenance will be required in the future. Your mileage might vary.
Each of the buoyancy tanks received three coats of epoxy primer, which should be enough. No need for a gloss finish here!
Don’t forget to paint the undersides of the foredeck, side seats and sterndeck before fitting 
Tanks are primed and ready to be sealed
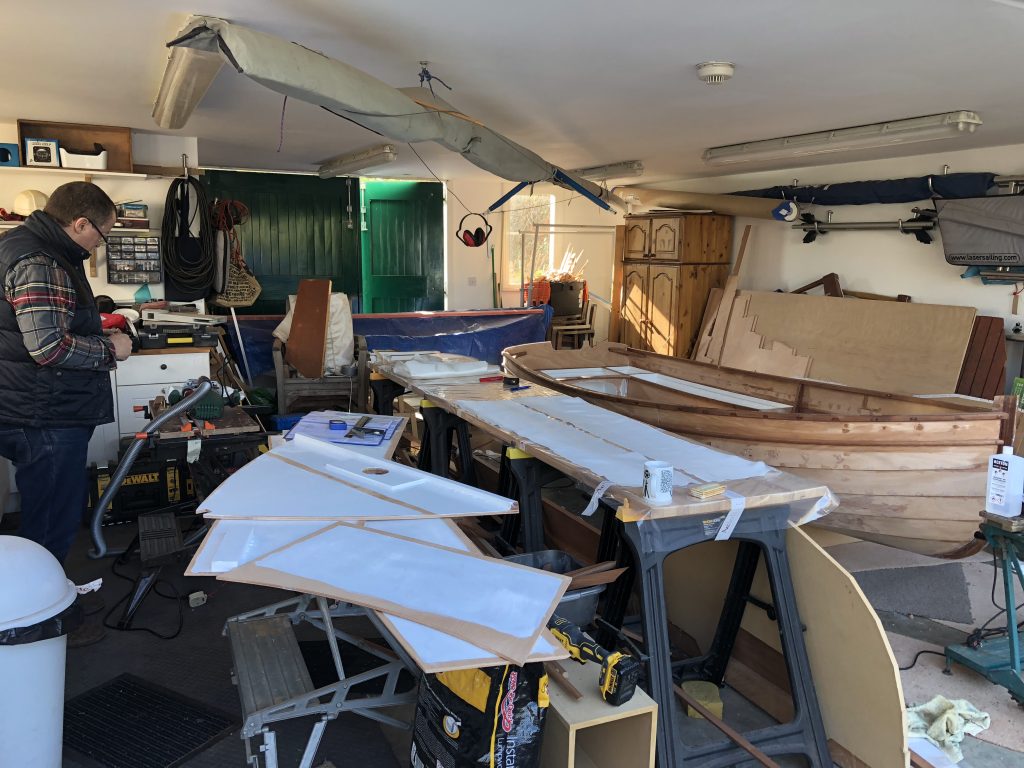
Now the floor needs to be sheathed with 30gsm matt, covering the sole joints to add extra strength, and provide abrasion resistance. A second coat of epoxy will minimise any unsightly overlaps, which can then be sanded out later
Another cup of tea with Doriano crackers is always welcome 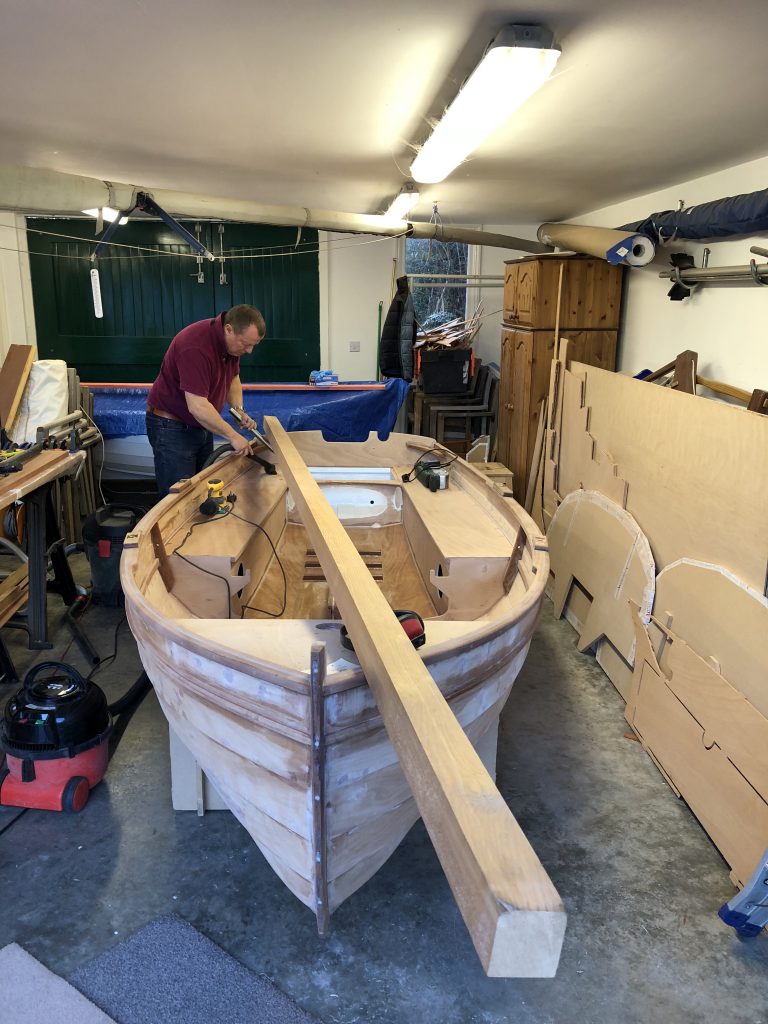
The floor has been matted. The square section blank is for the mast
The interior has to be faired to get rid of any dribbles and screw holes, and there’s no easy way, even with a good orbital sander. This is noisy work, as the hull acts like a loudspeaker. My neighbours have barely forgiven me!

Lastly, the whole interior is primed with epoxy, ready for the final finish