This was the part I dreaded most. When I told my sailing mates that I would be making my own wooden spars, they told me to save the effort and go to Collars to get something professional. Apart from the cost, I also now had the wood in stock, so I had to at least have a go.
How do you take a square section and make it round as well as tapered? The process is very well described in the Oughtred book, so I took the plunge.
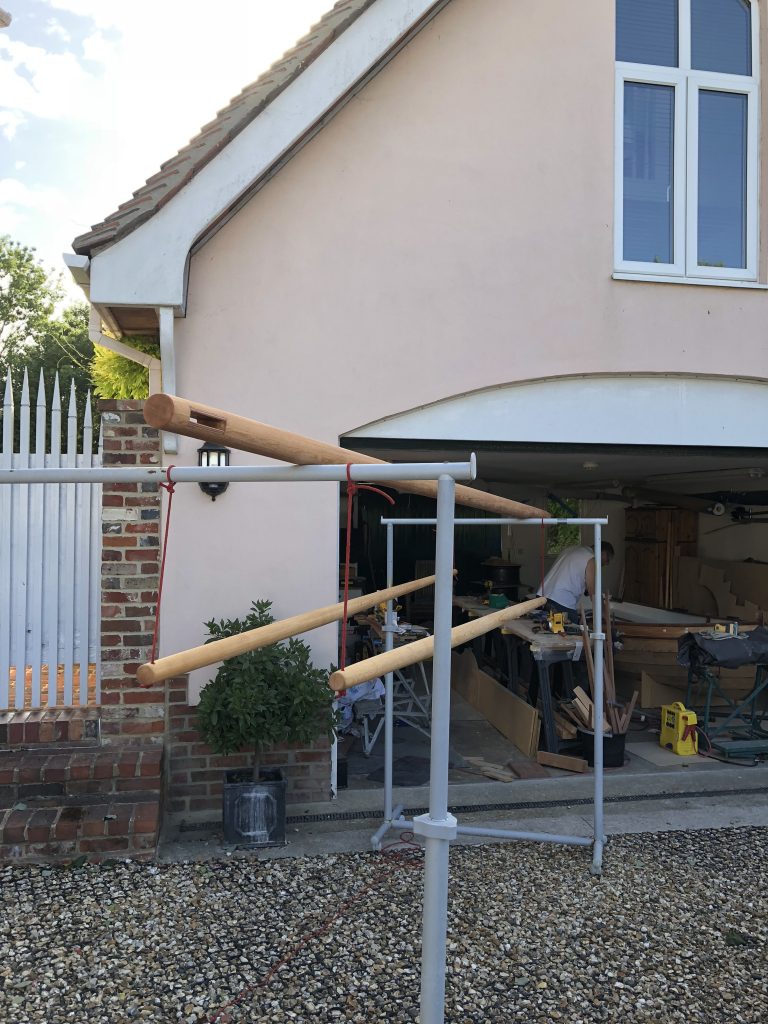
The sparmakers gauge in action 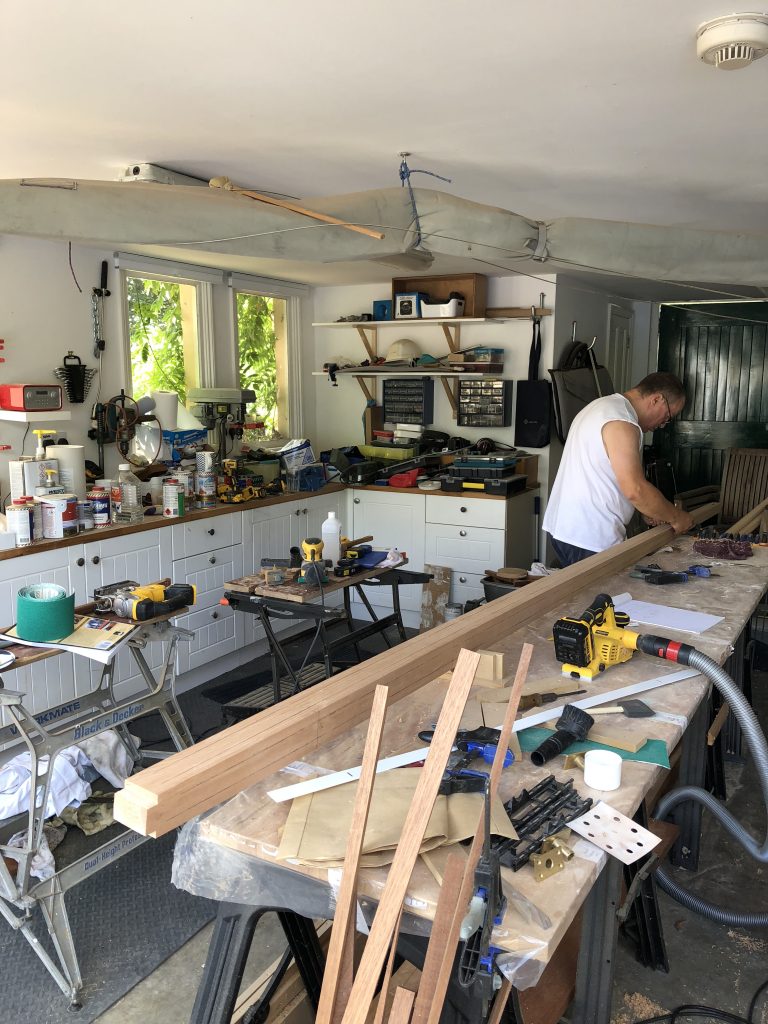
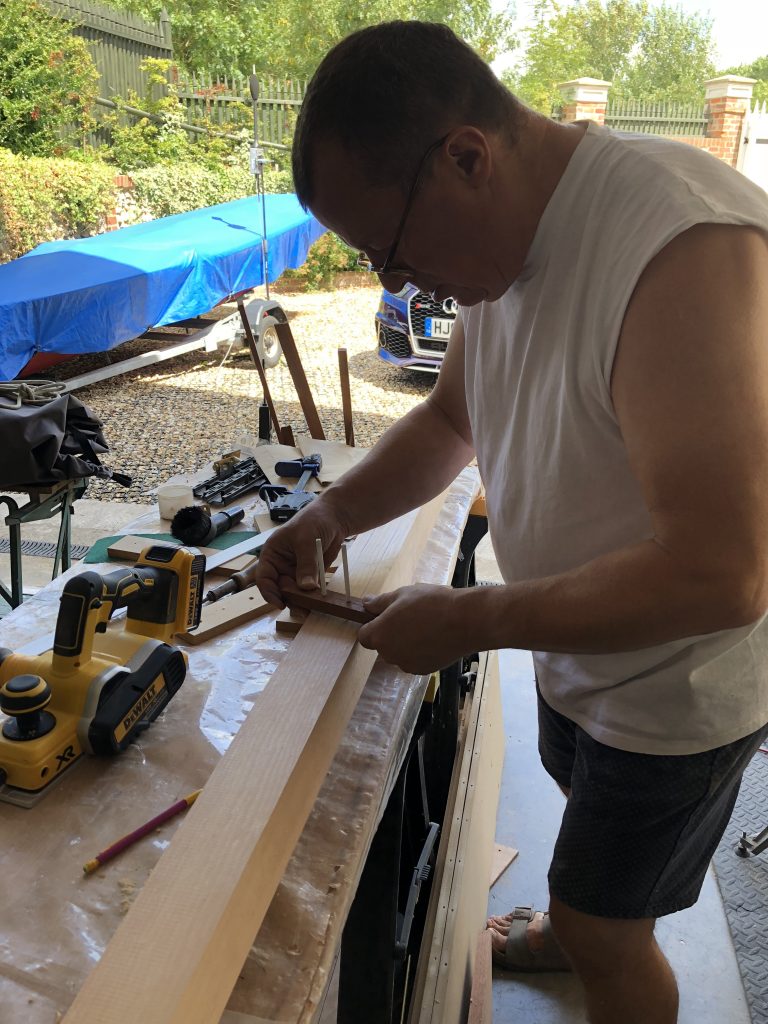
Measuring and drawing the tapers on the mast
The key tool in this job is the sparmakers gauge, which you can make yourself with some scrap wood, a couple of nails and two pencils/biros. This cunning device is used to mark the limit lines on the spar, so the corners of the section can be planed away in a controlled way.
Before starting on the mast, the halyard sheave box is formed, with a plywood sheathing for strength and resistance.
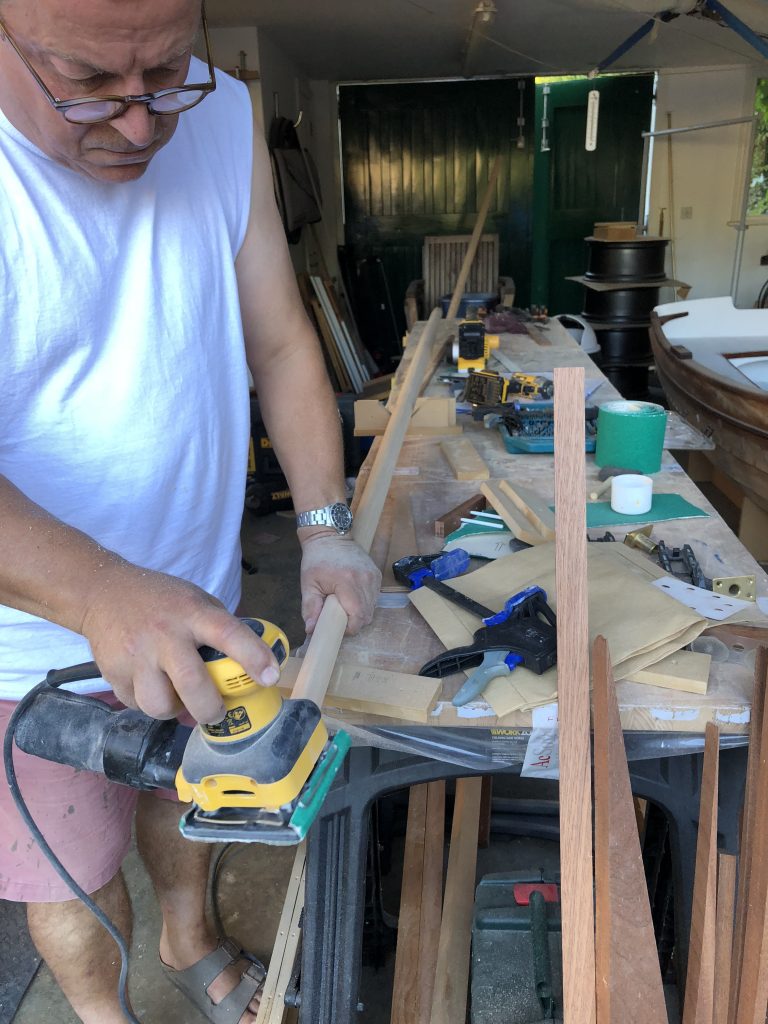
Sanding down the final edges on the boom 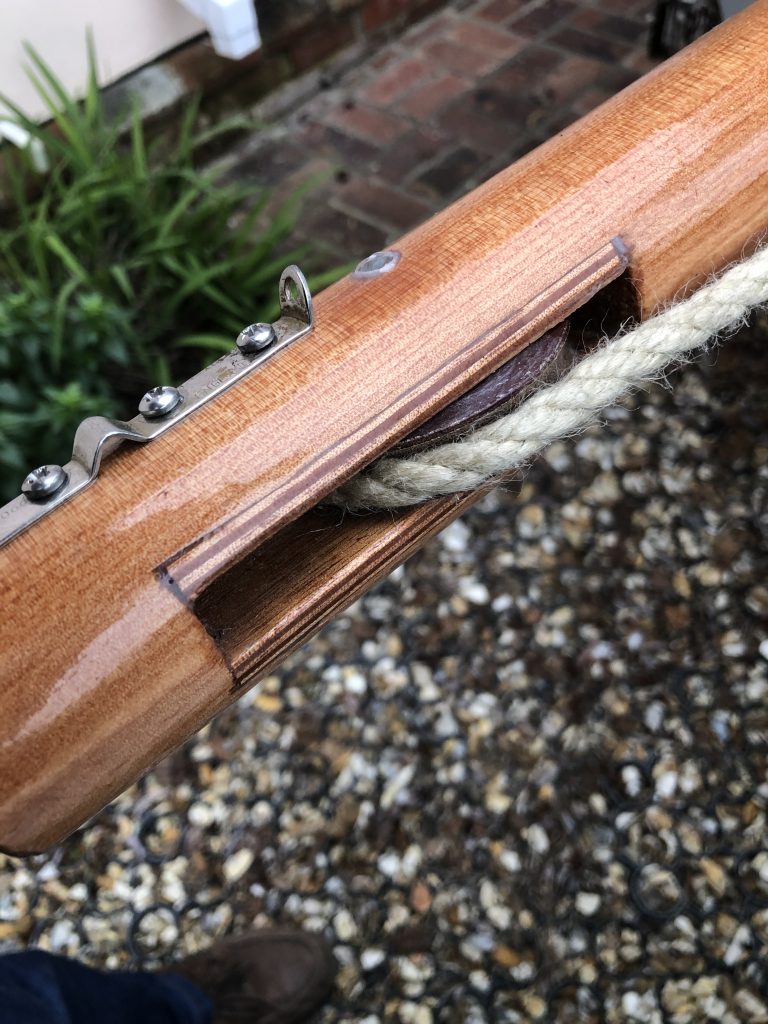
The completed halyard sheave box
The tapers are first done by careful measurement and marking, and then the gauge used to make the limit lines. Then, after several cups of tea, I got started, trimming the section to an octagon. This produces a lot of shavings, which is great if you have a rabbit hutch, but my vacuum cleaner had to be emptied several times!
Next is to make the octagonal section into a hexadecagon (16 sides to the layman), and the rest can be smoothed with an orbital sander. I have to say, the process was nothing like as scary or difficult as I expected, so if you have any doubts, have a go.
Curing the two-pot poly. It went off in minutes in that temperature! 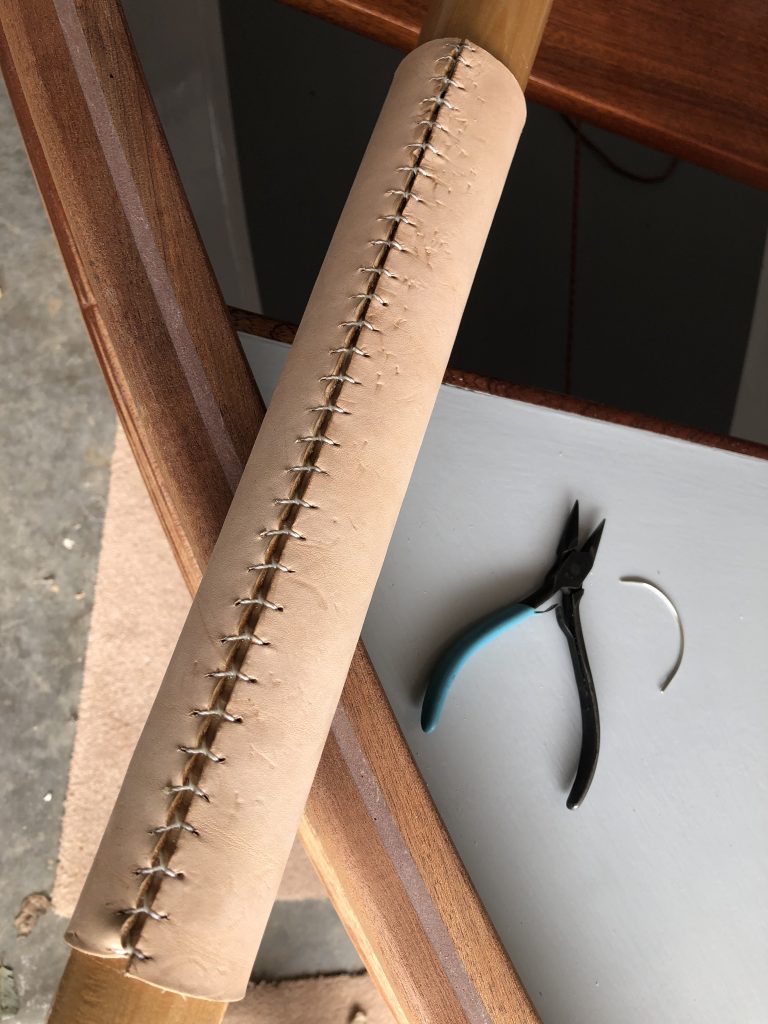
My first leatherwork on the boom. The pliers are for pulling the twine really tight
After finishing with two-pack polyurethane varnish, I had to learn the art of leatherwork, to put sleeves on the spars where they rub together. Again, the Holy Book describes it, and my first attempt was not bad at all. Stick the leather on with Timebond, or any good contact adhesive, and then use whipping twine to pull the two edges together tightly.
You can see the importance of measuring the spar circumference accurately. The first leather in the picture above could have been a bit better closed, but it improved with practice!