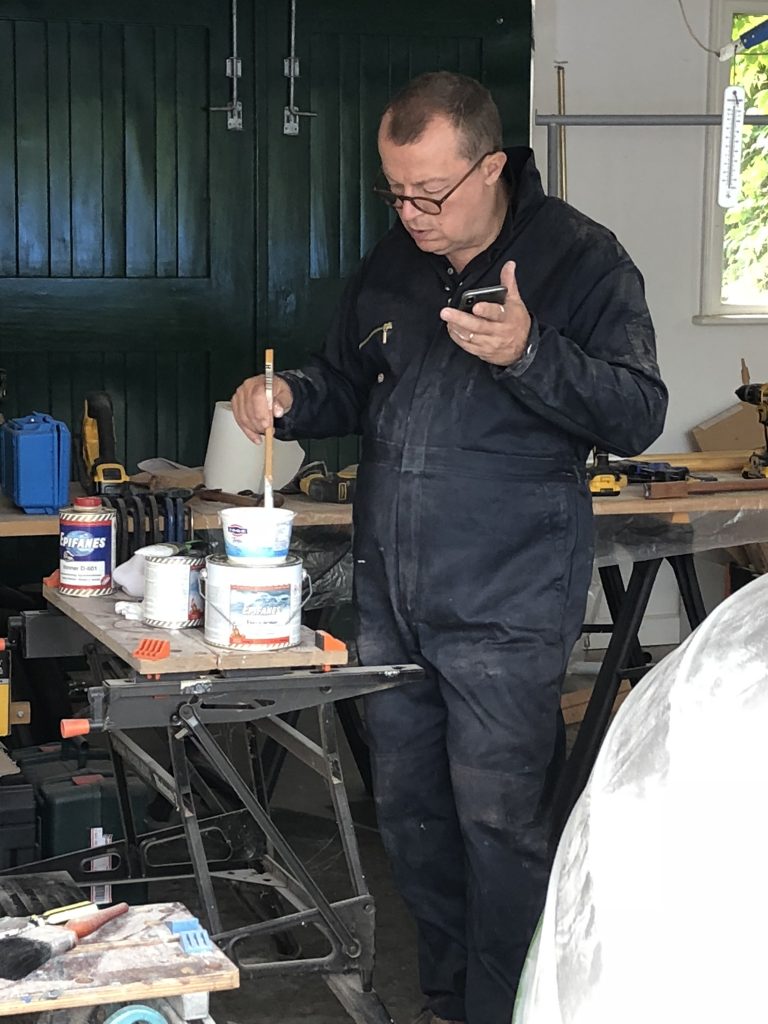
As mentioned elsewhere, I chose the Epifanes two pot scheme for finishing – I hate to think what the total paint bill was, but I don’t expect any maintenance for a while
The base is the epoxy primer, which fills very well, and doesn’t really need sanding between coats, as long as you don’t leave it too long.
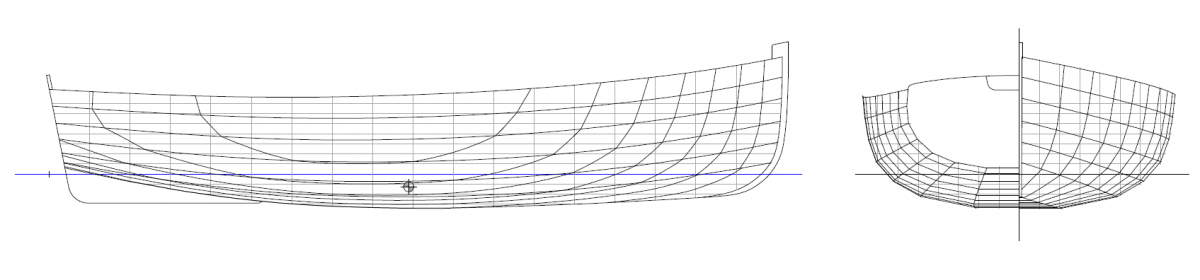
At least the stem, skeg and centreboard slot line up!
After the first coat, you should be able to see if anything needs filling/smoothing, after which a second coat is a good idea
Technical support calls can still be done!
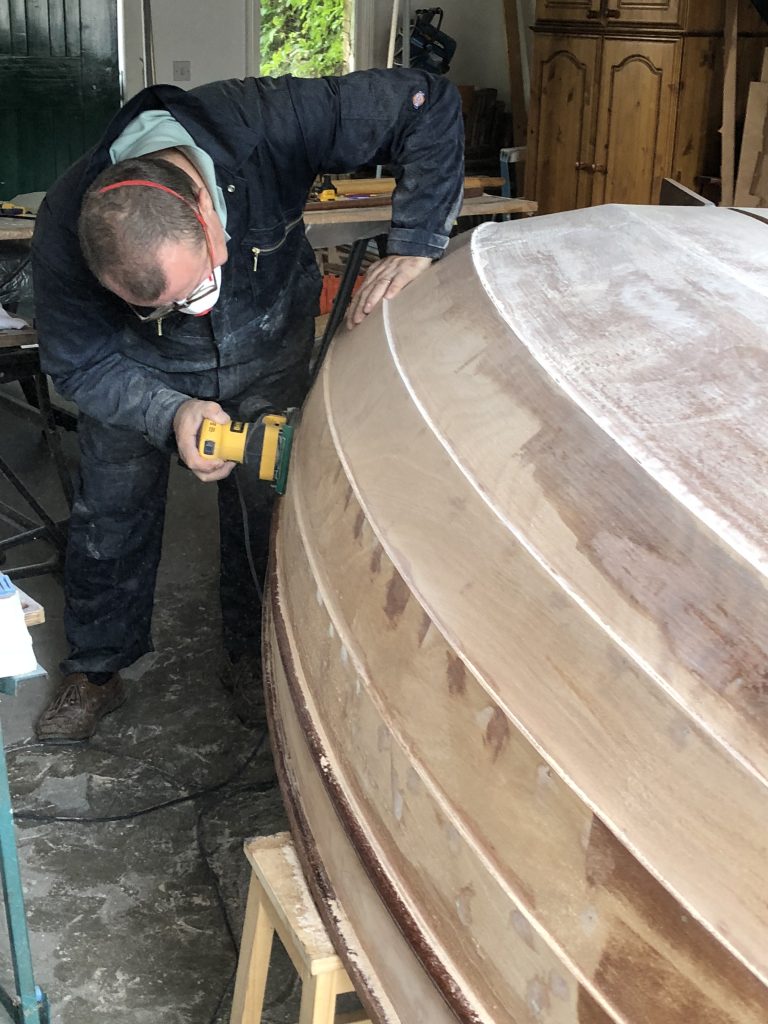
Sanding off the filler before the second coat
By now, things should be looking good, with all the clinker lines looking smooth, ready for the topcoat
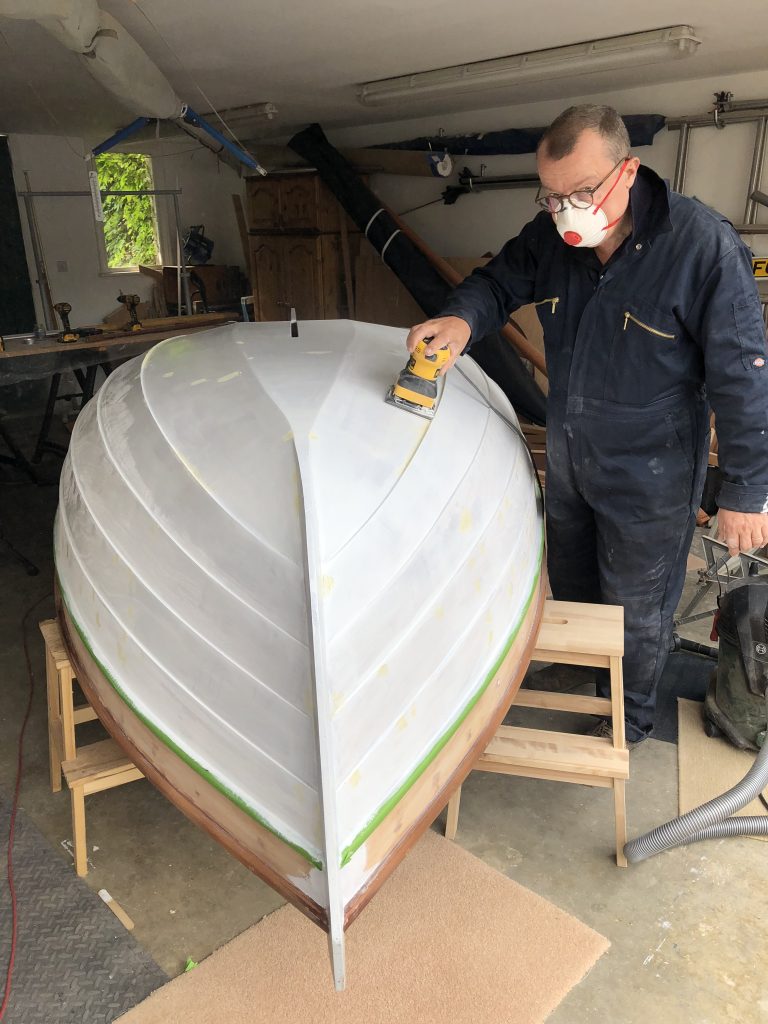
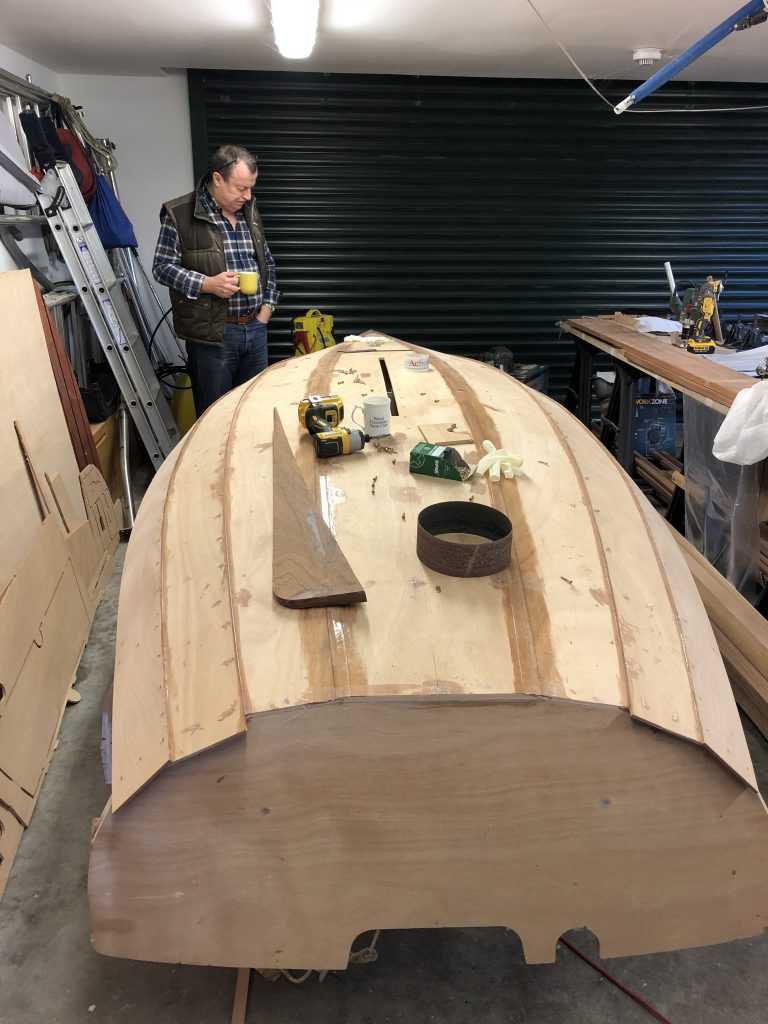
As with the interior, the next part is just hard work, filling in any screwholes/dings, and then sanding sanding sanding. Using 40 or 60 grade glass paper is fine for this, as the epoxy primer/undercoat has good filling capabilities.
A mask is essential – now is not the time to develop an epoxy allergy
Hot noisy work
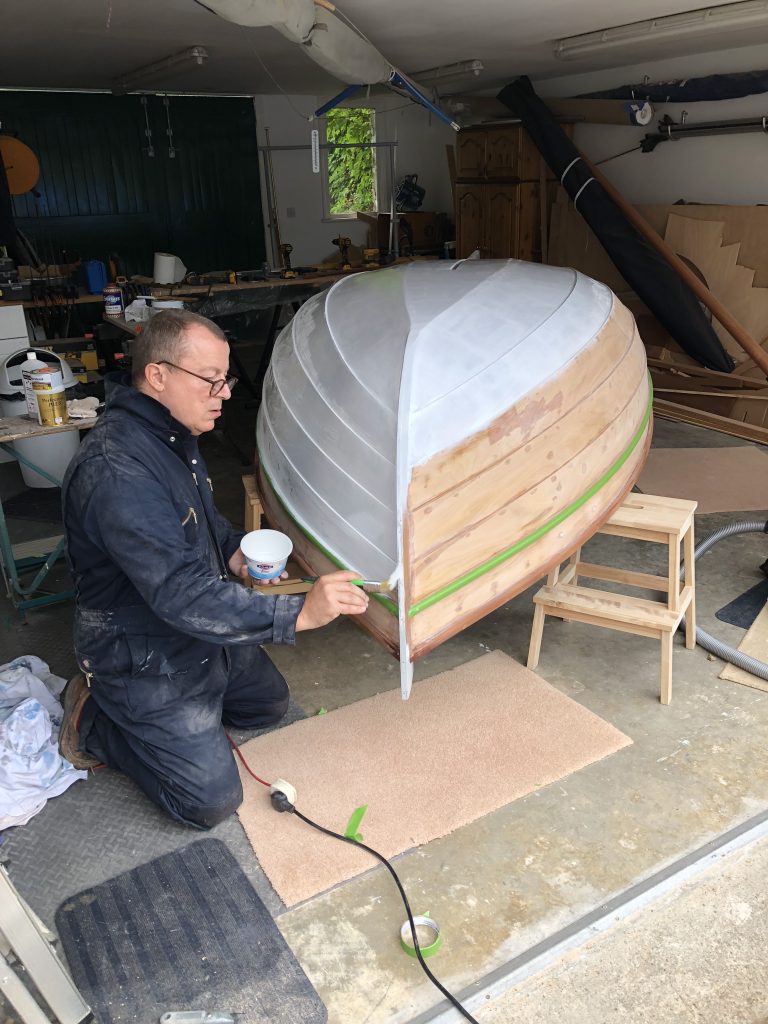
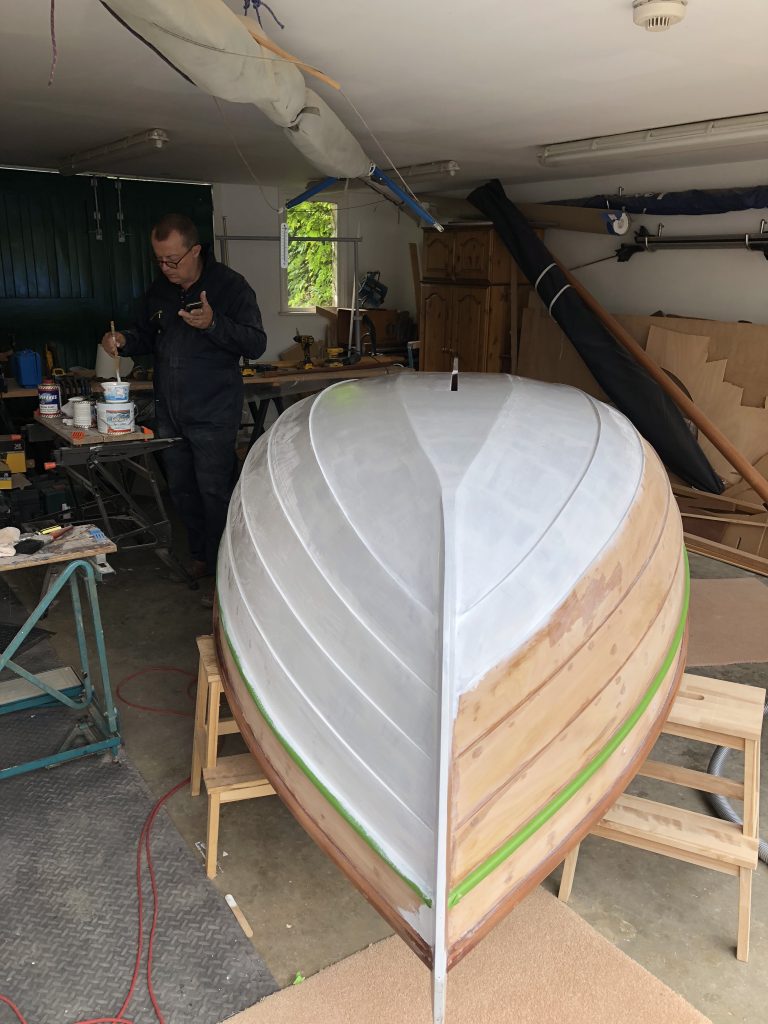
Once the finish is acceptable, give it a good hoover and a wipe down with a tack rag or three. Then the lower rubbing strake is masked off with Frog tape ready for painting with epoxy primer
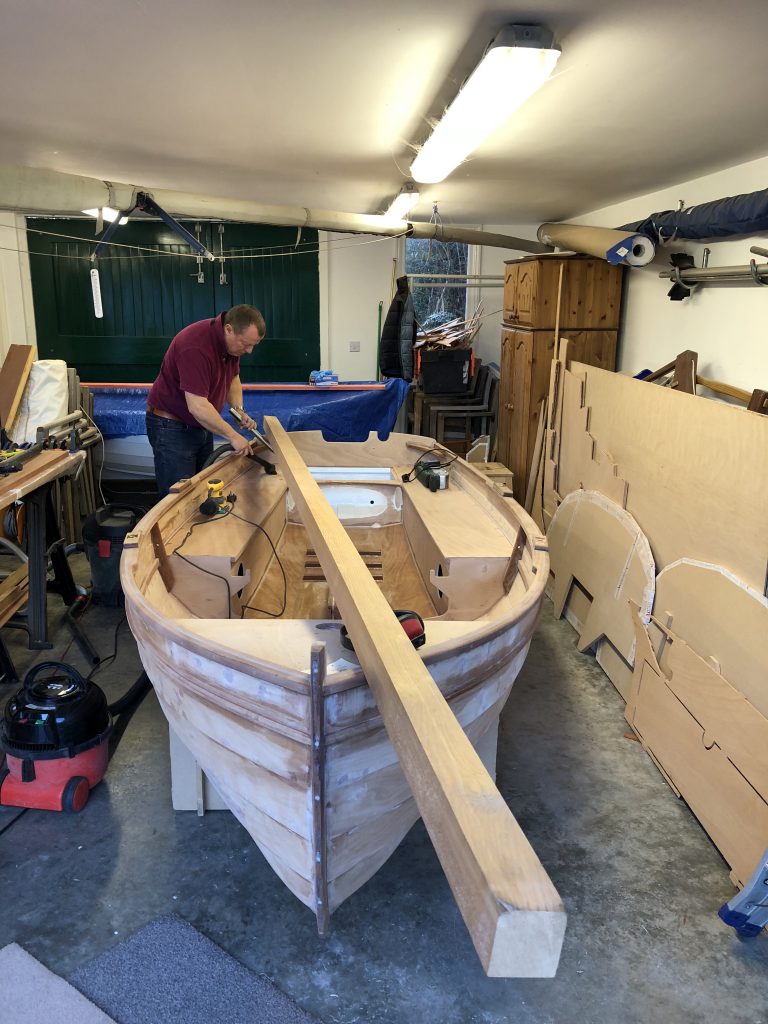
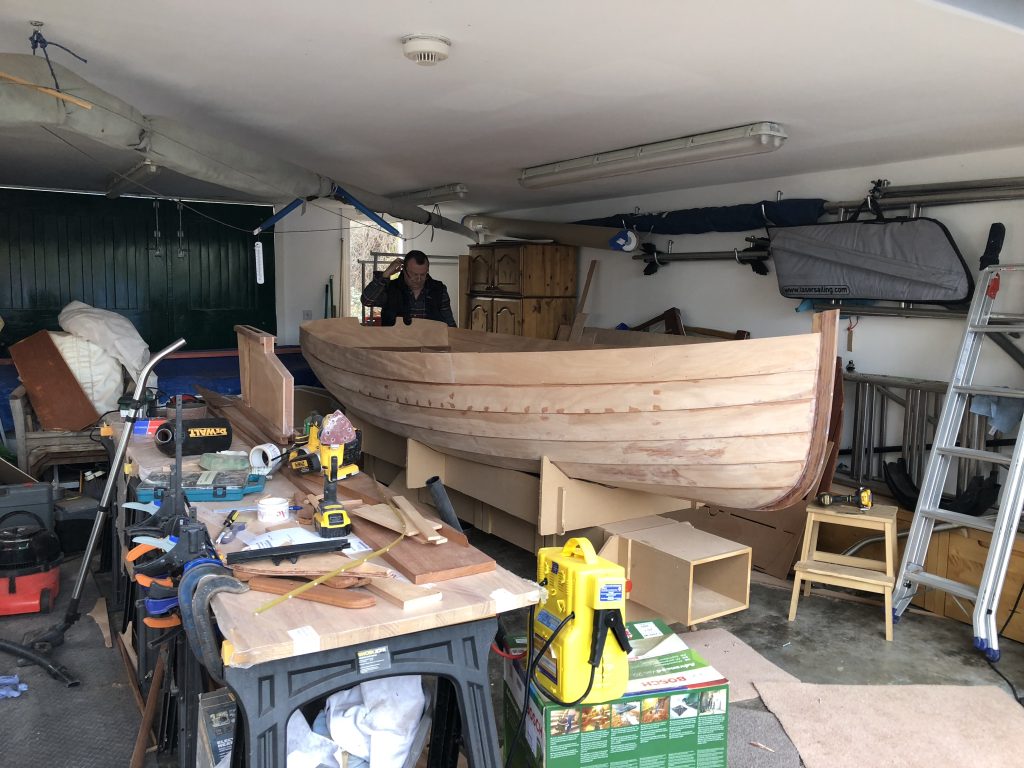
Now for the next turnover. The hull is quite a bit heavier now, with all the additions and finishes, but still easily manageable with two people.
In order to get the working height comfortable, I invested in four BEKVÄM step stools from IKEA. How they do these for £14 each, I don’t know! Even at the current price, they are a bargain, and will come in handy for many things in the future.
With one at each corner, it was then easy to level up the hull with small chocks, until the proposed waterline was level.
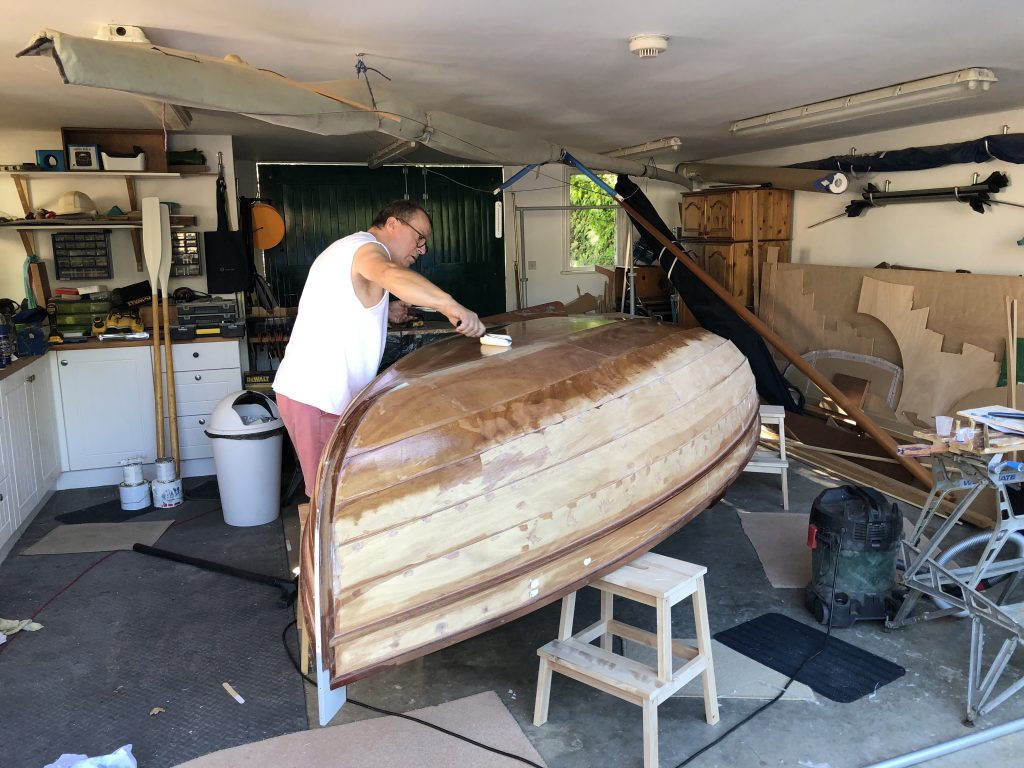
Next job is to cover the sole and garboard strakes with 30gsm matting, to make the bottom really robust for possible beaching on East Head. You’ll need some sacrificial rollers, and plenty of epoxy. It’s probably best to use the 206 slow hardener, otherwise this will become unworkable quite quickly in the summer months.
Yes I know I should use gloves but it was so hot, even in a wifebeater shirt!
Note the Bekvam stools
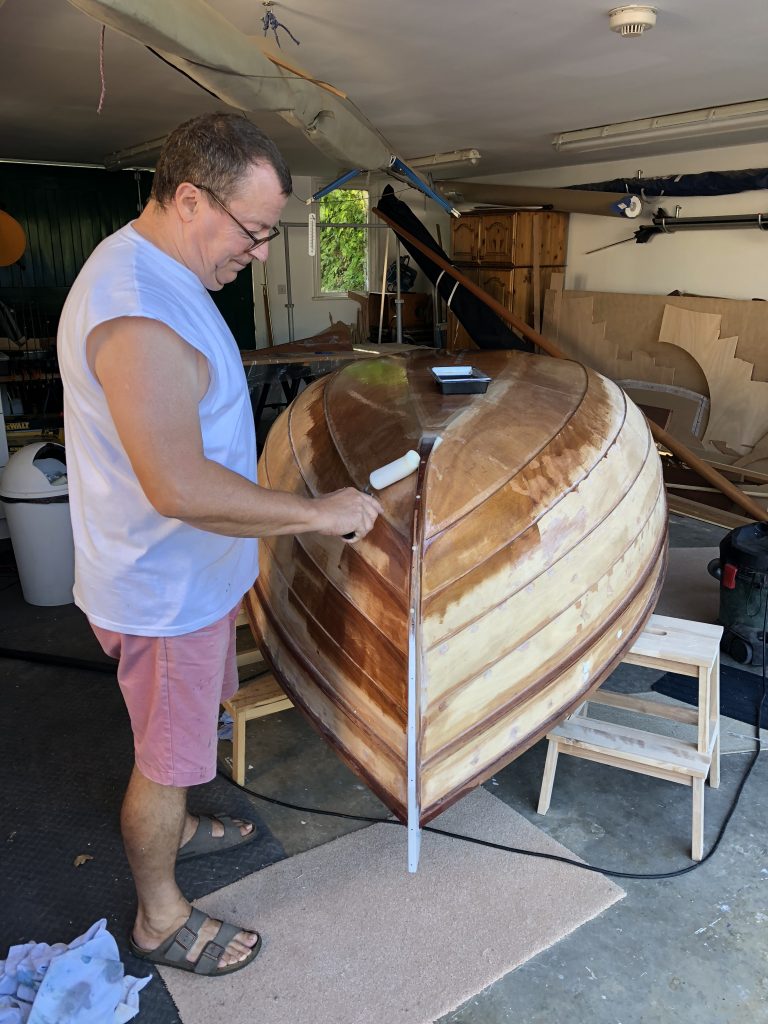
After the second coat of epoxy, the finish is surprisingly smooth, even taking into account the tapes already on the sole joint.
Next up, fit the skeg. This is a bit fiddly, as it needs to be aligned first, and then drilled from underneath – it’s useful to have a friend to hold it in place while you drill the pilot holes. Once fitted, the skeg is filleted both side, to make a really strong joint
Note how smooth the bottom is, even before any sanding and preparation
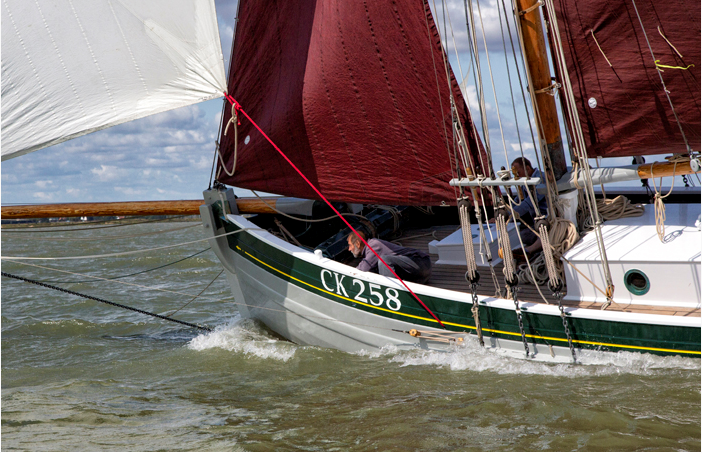
As an Essex boy, coming from the Blackwater estuary, my boat aesthetics have been influenced by the local working boats. One such is the Colchester smack, an evolved working boat designed for oyster dredging and herring netting. With their low counter stern, they always look elegant, and many are now being dug out of mudberths and put back into, albeit leisure, service. The colour scheme was often grey hull, with contrasting sheer strake, as shown by this photo of Charlotte Ellen below.
Charlotte Ellen, CK258, 43′ Oyster Smack, Built Brightlingsea 1906
So, the colour scheme of this little Morbic was going to be grey, with green sheerstrake, and white bottom, which will help make her look a little less chubby.
Again, I went for the Epifanes two-pot polyurethane products, which have proved excellent in the past. It’s expensive stuff, but hopefully will not require much maintenance in the near future.
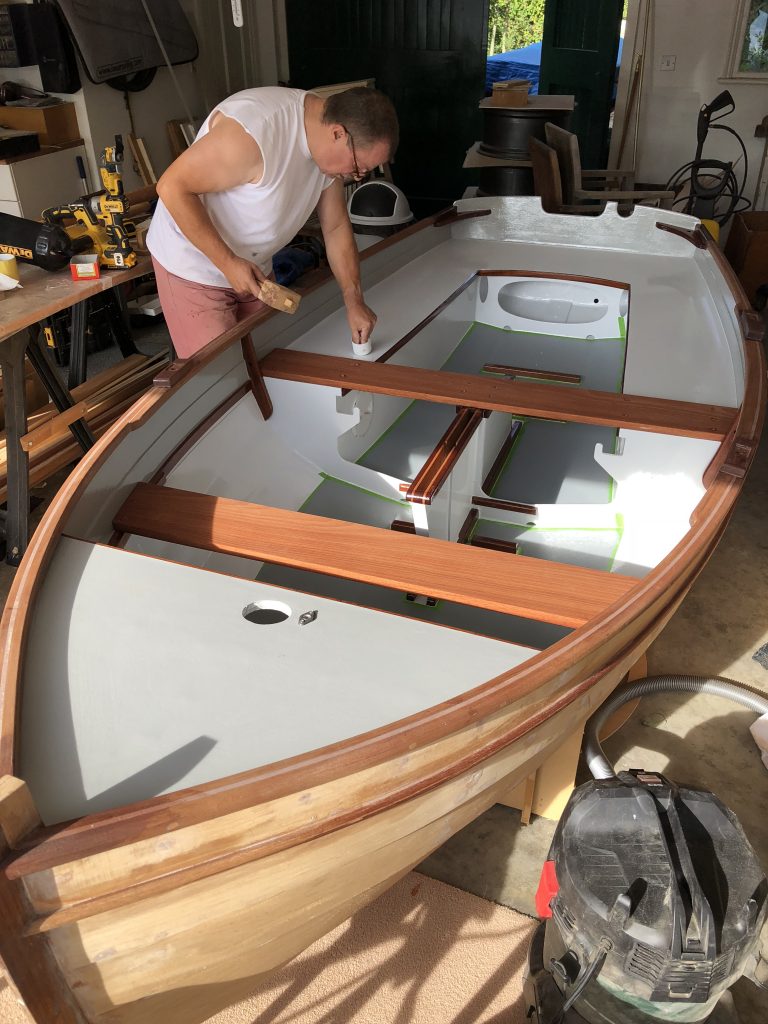
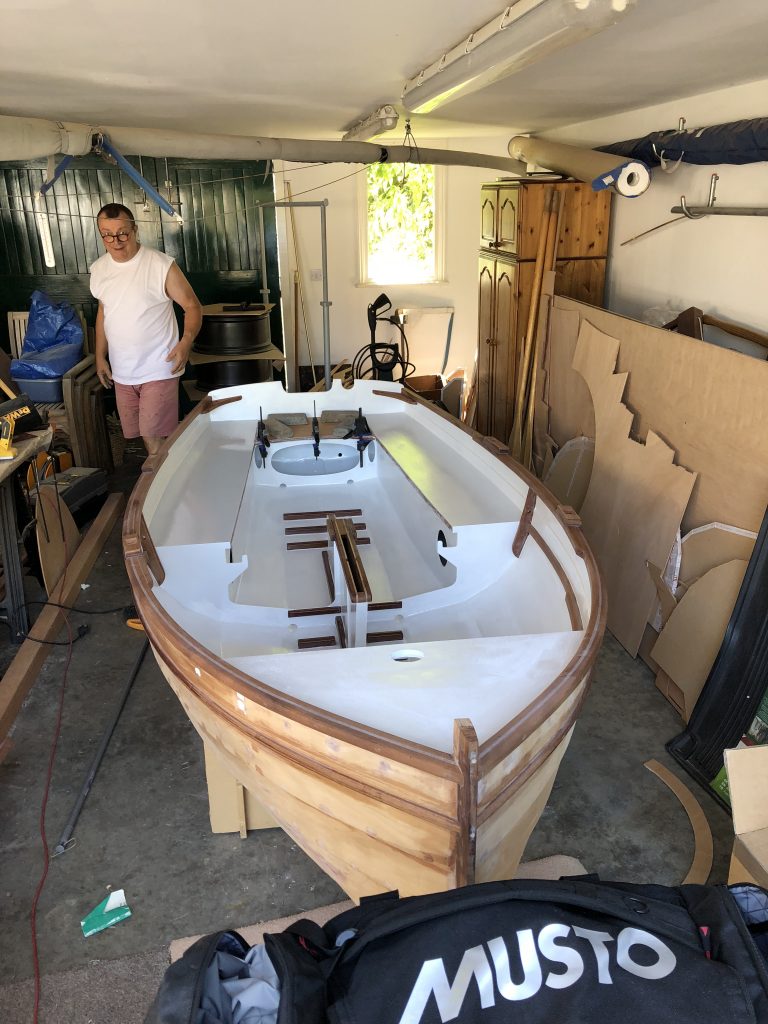
After fitting the thwarts, the inside can now be finished. I decided to go for an off-white polyurethane for the bulk of it, to avoid too much glare while sailing. I used a darker grey above the seat riser. This gives a nice impression, and it breaks up the cockpit.
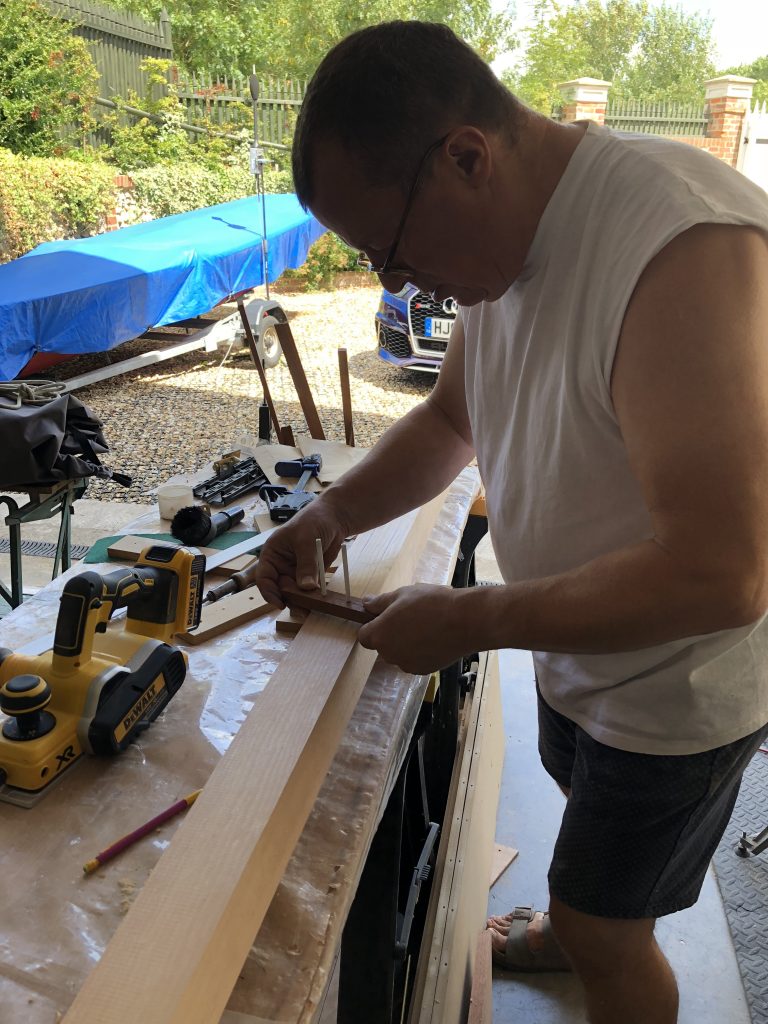
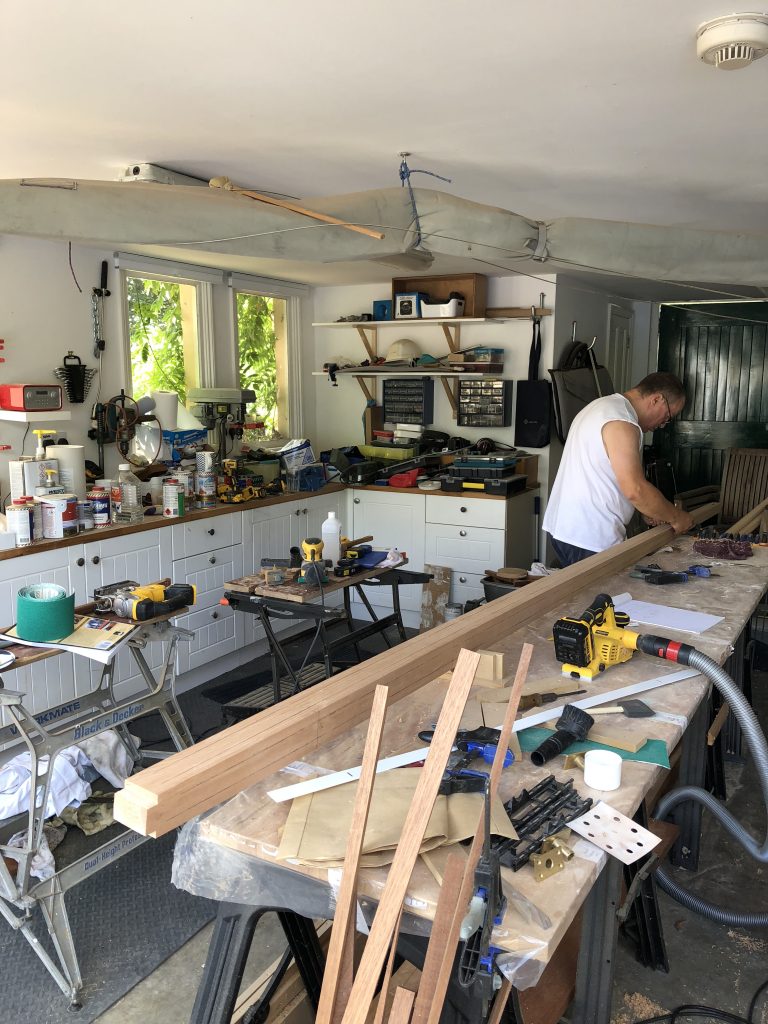
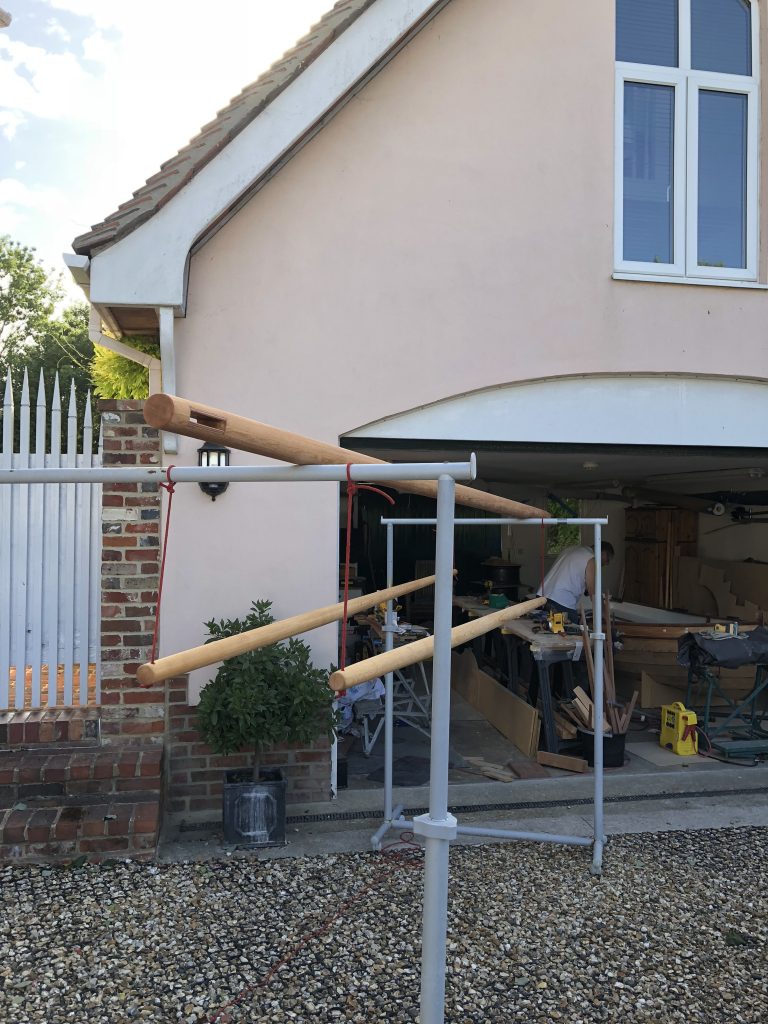
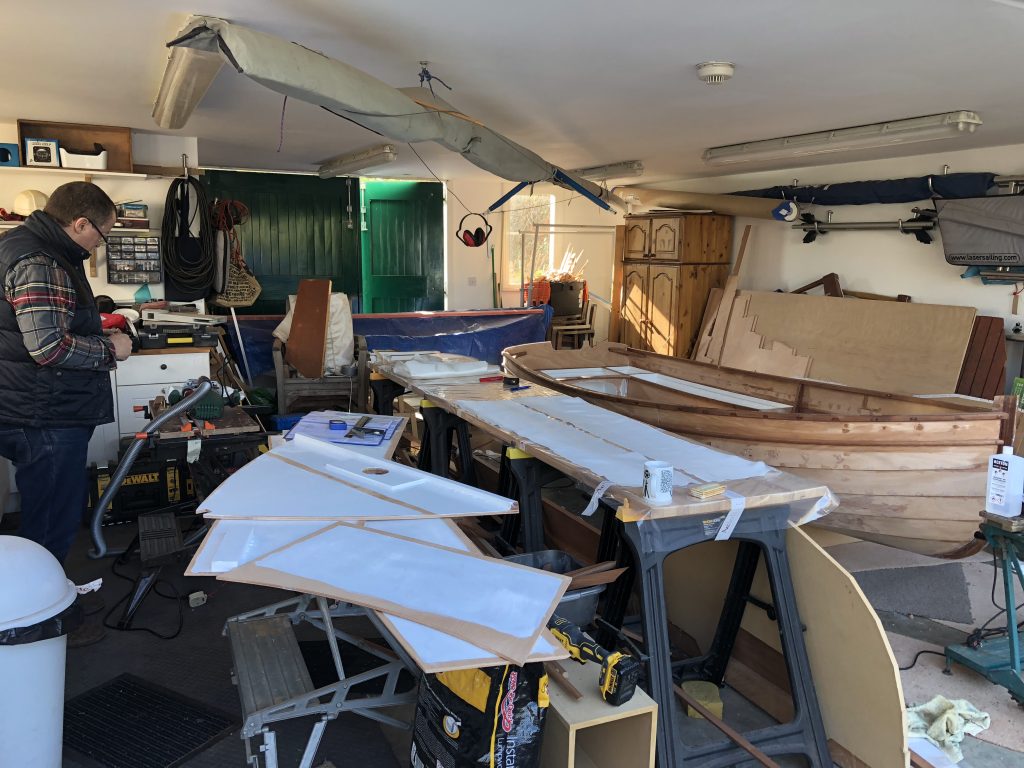
This was the part I dreaded most. When I told my sailing mates that I would be making my own wooden spars, they told me to save the effort and go to Collars to get something professional. Apart from the cost, I also now had the wood in stock, so I had to at least have a go.
How do you take a square section and make it round as well as tapered? The process is very well described in the Oughtred book, so I took the plunge.
The sparmakers gauge in action
Measuring and drawing the tapers on the mast
The key tool in this job is the sparmakers gauge, which you can make yourself with some scrap wood, a couple of nails and two pencils/biros. This cunning device is used to mark the limit lines on the spar, so the corners of the section can be planed away in a controlled way.
Before starting on the mast, the halyard sheave box is formed, with a plywood sheathing for strength and resistance.
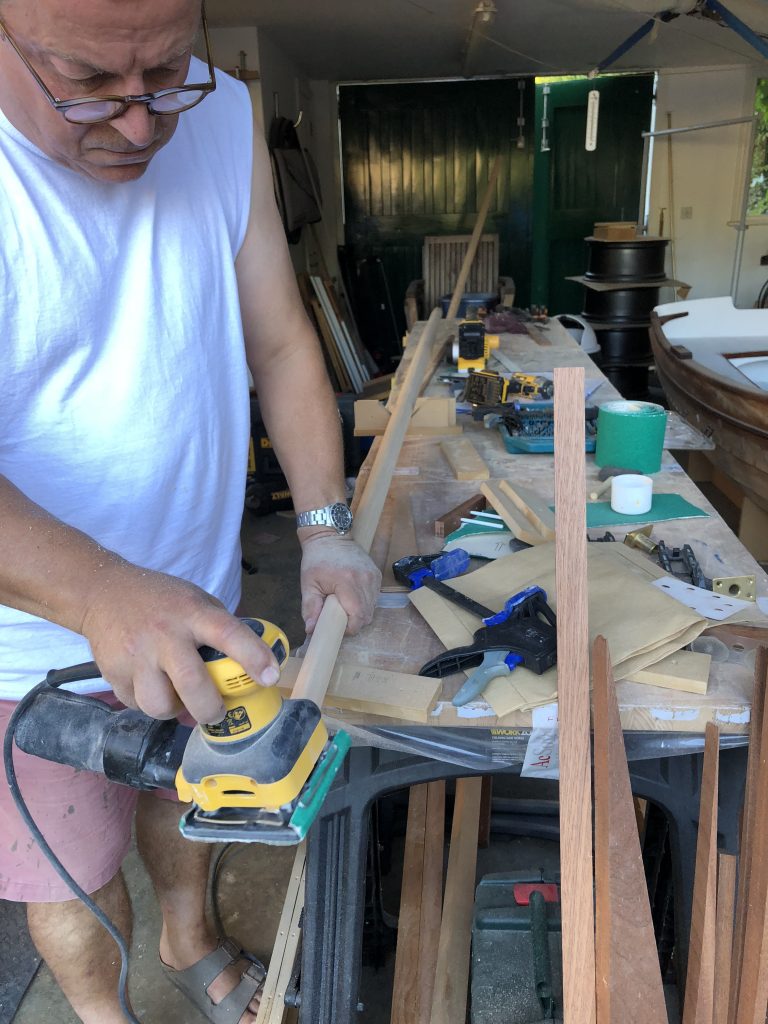
Sanding down the final edges on the boom
The completed halyard sheave box
The tapers are first done by careful measurement and marking, and then the gauge used to make the limit lines. Then, after several cups of tea, I got started, trimming the section to an octagon. This produces a lot of shavings, which is great if you have a rabbit hutch, but my vacuum cleaner had to be emptied several times!
Next is to make the octagonal section into a hexadecagon (16 sides to the layman), and the rest can be smoothed with an orbital sander. I have to say, the process was nothing like as scary or difficult as I expected, so if you have any doubts, have a go.
Curing the two-pot poly. It went off in minutes in that temperature!
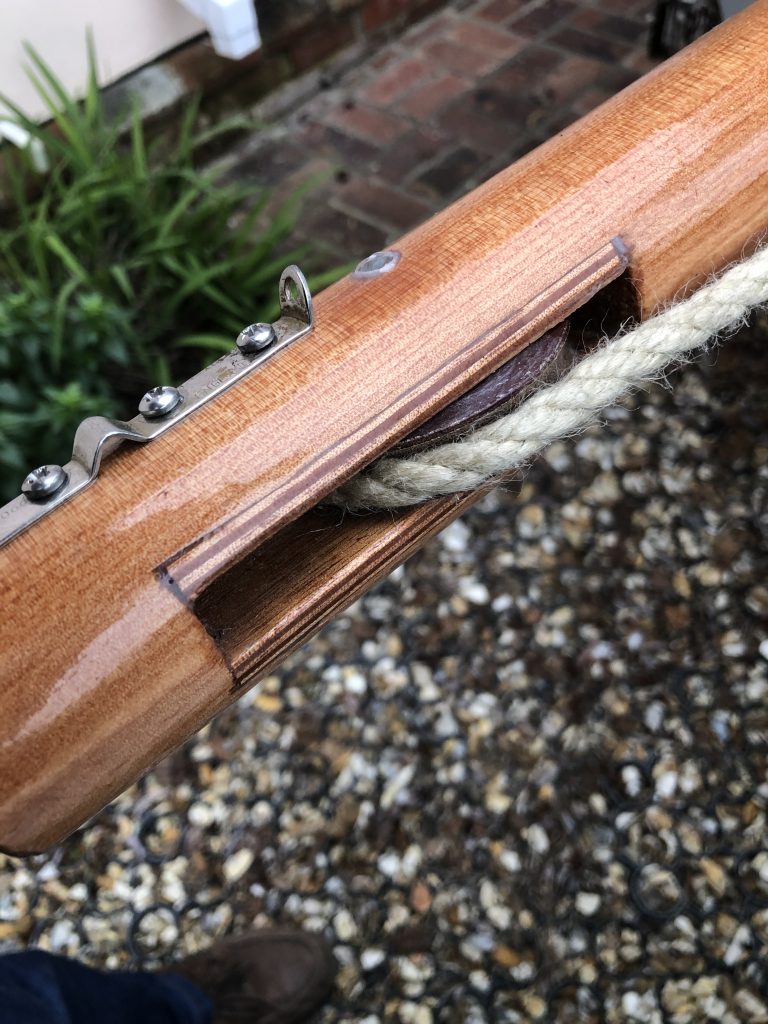
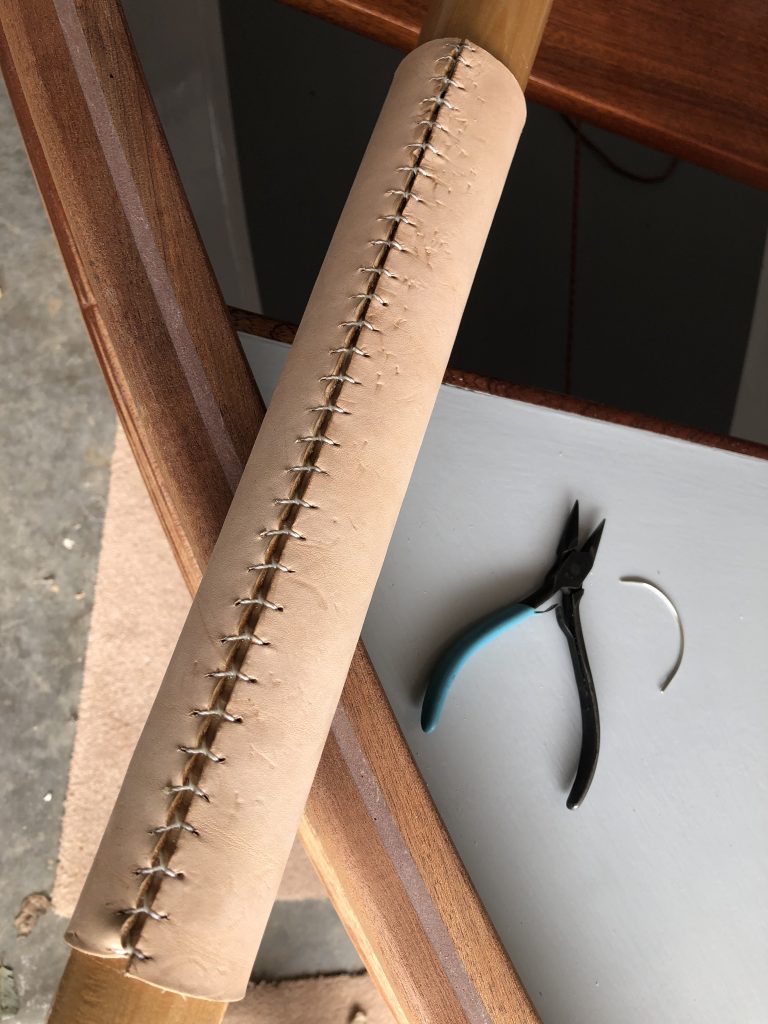
My first leatherwork on the boom. The pliers are for pulling the twine really tight
After finishing with two-pack polyurethane varnish, I had to learn the art of leatherwork, to put sleeves on the spars where they rub together. Again, the Holy Book describes it, and my first attempt was not bad at all. Stick the leather on with Timebond, or any good contact adhesive, and then use whipping twine to pull the two edges together tightly.
You can see the importance of measuring the spar circumference accurately. The first leather in the picture above could have been a bit better closed, but it improved with practice!
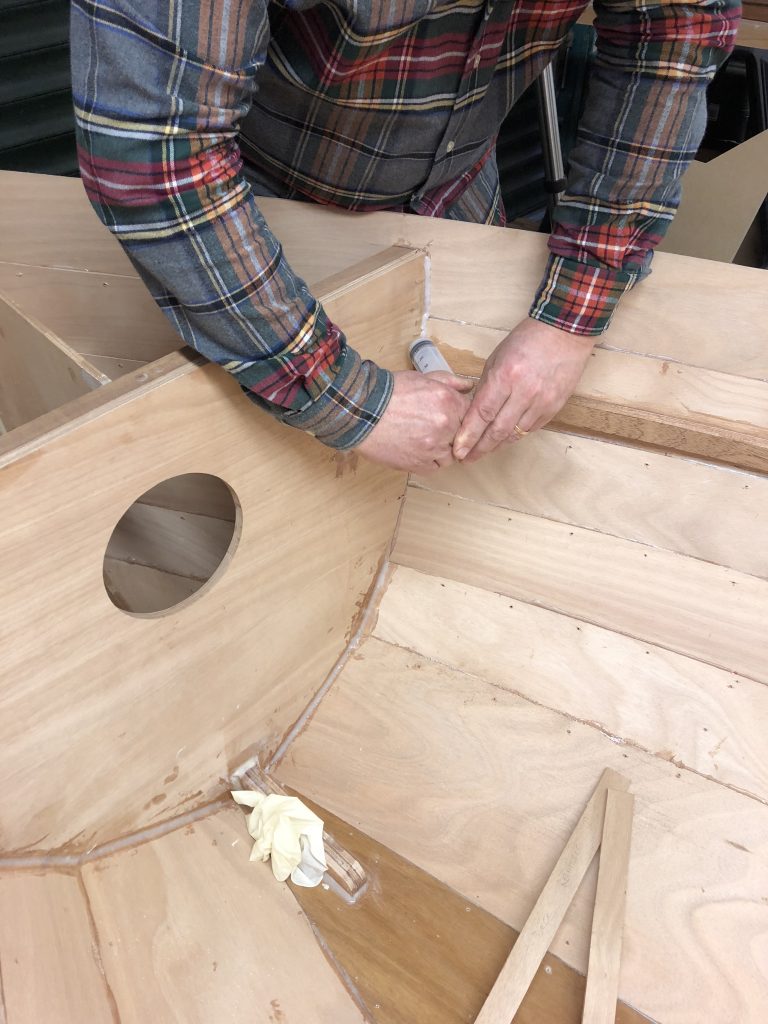
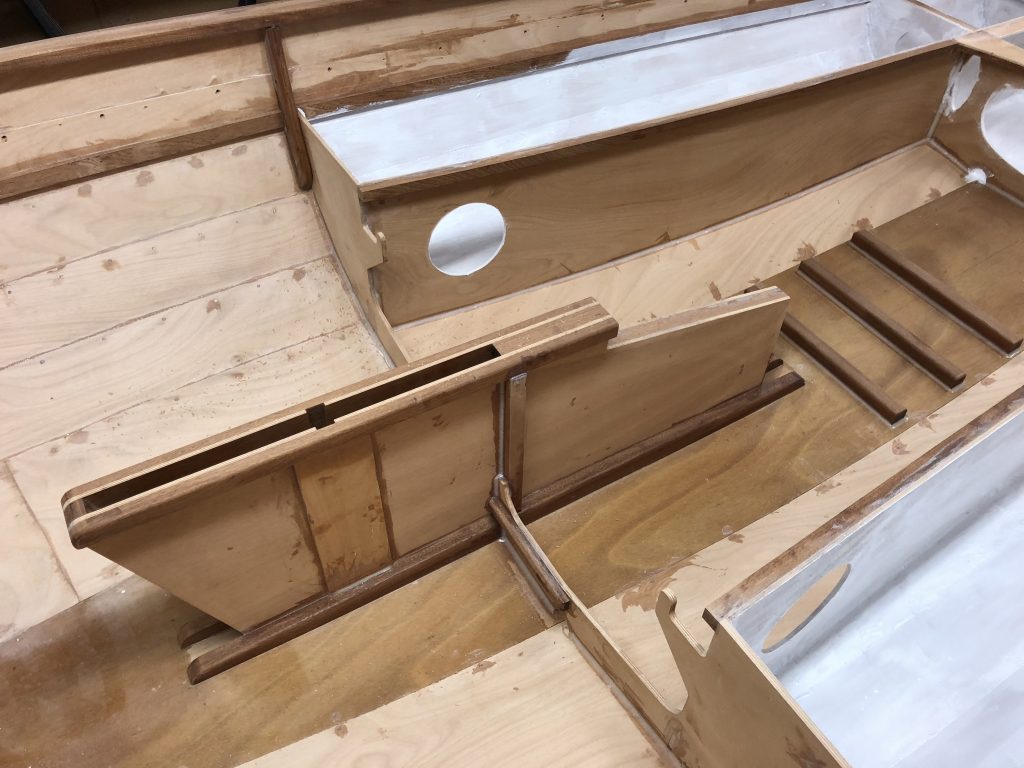
Fitting all the innards was back-breaking, as you have to reach in and down into the hull. Firstly, all the joints need to be filleted for strength, both inside and outside the tanks. This is where the syringes and lolly sticks come in
Applying the epoxy with a syringe
Making a nice fillet with the lolly stick
Note the centreboard case has been dry fitted after the Station 3 bulkhead has been cut
It was during this process when I started to get the feeling this was going to be a nice sturdy little boat!
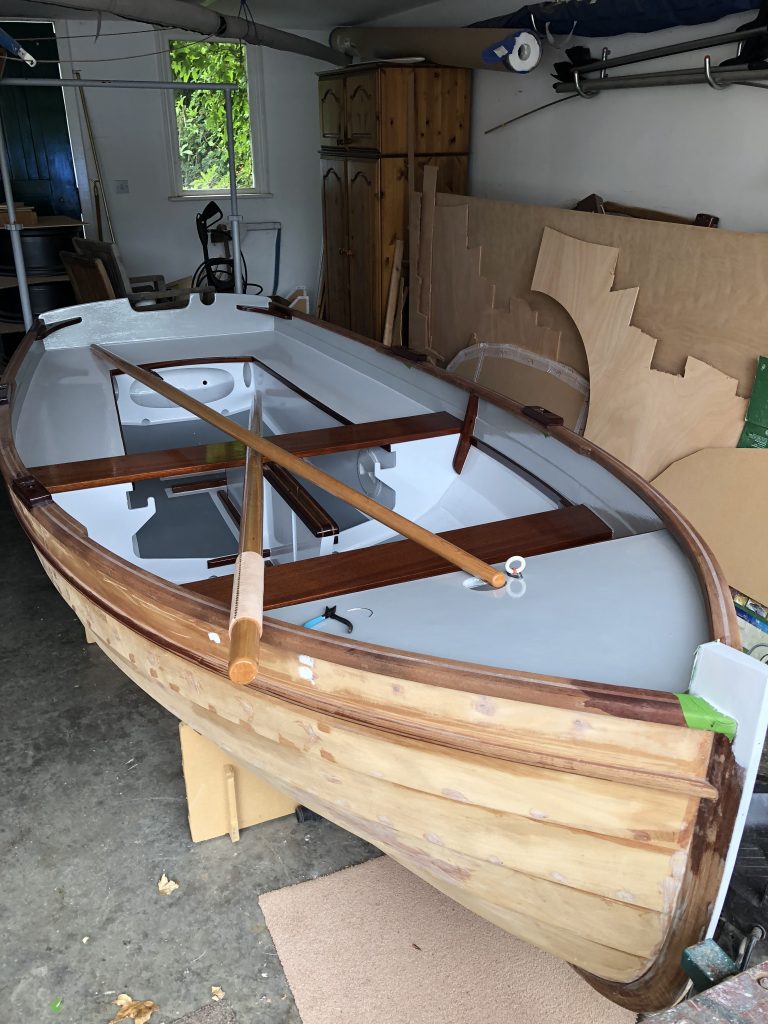
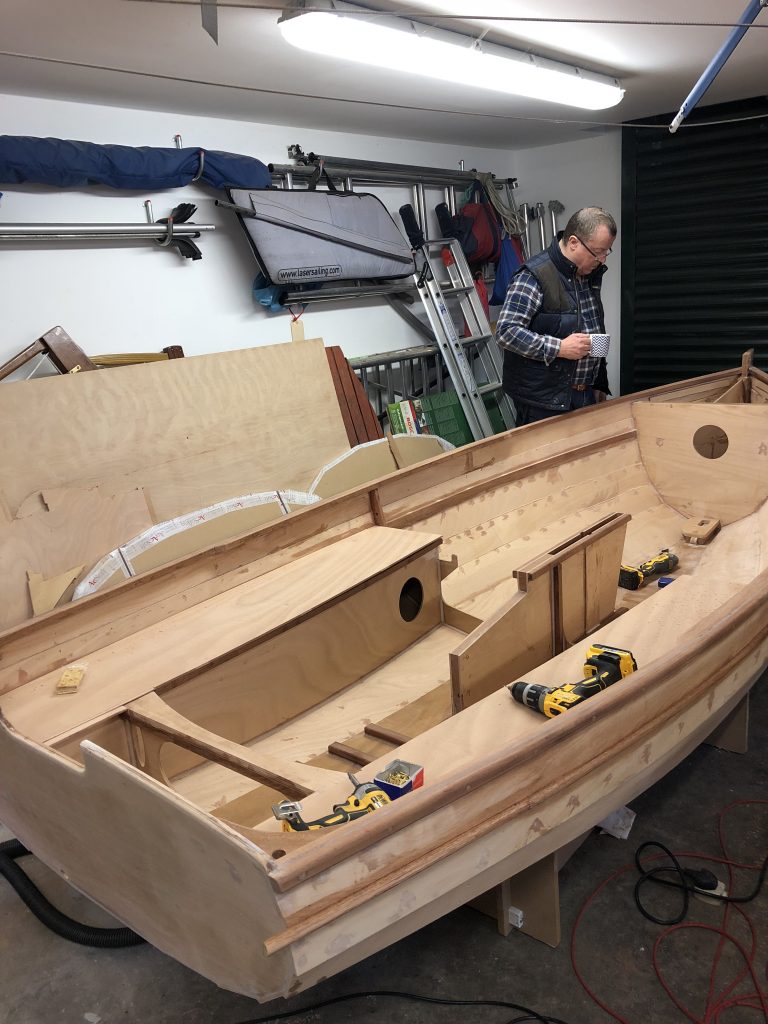
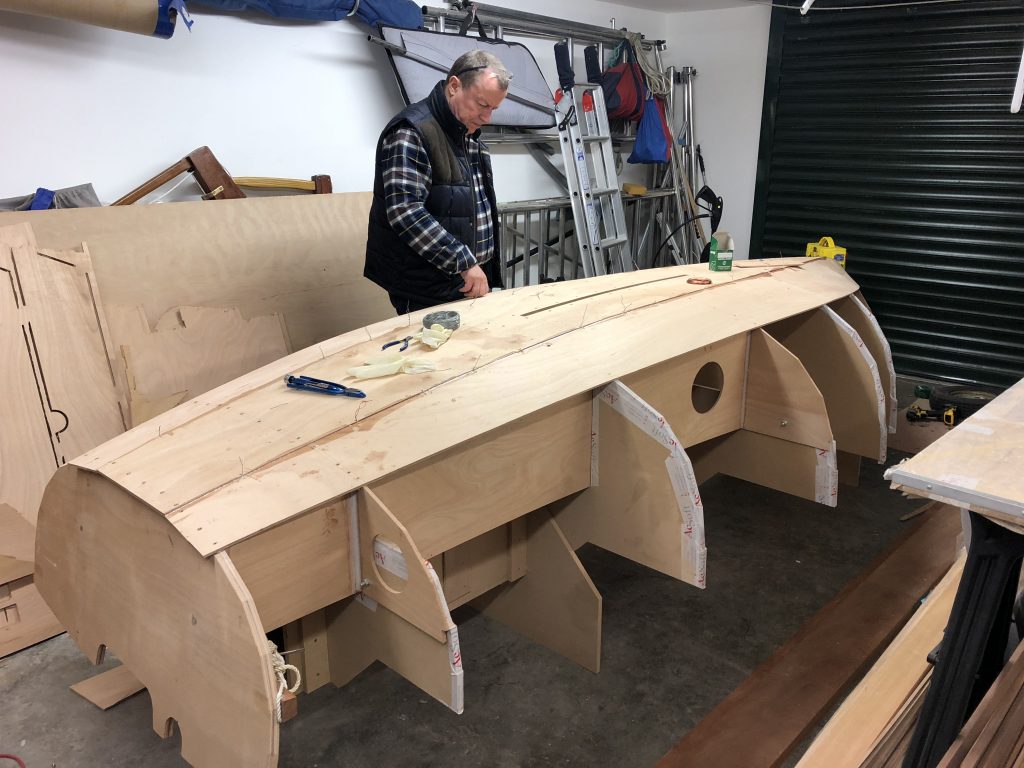
In short order, the seat risers, inwales and gunwales are fitted as well as the various bits of brightwork. The centreboard case can now be glued and screwed from underneath, and filleted to the bulkhead.
The mast step is fitted and the side tanks dry fitted
Centreboard case glued and filleted
As well as the gunwale in utile, I decided it would be attractive to have the second rubbing bead at the bottom of the sheerstrake. Note that this is NOT in the materials list in the manual, so I had a slight delay while I ordered up the timber.
At this point, I decided I was going to go with Epifanes for the primer and paint, so ordered up a good quantity of epoxy primer and two pot polyurethane. Yes, it’s hells expensive, but it does finish well and means that very little maintenance will be required in the future. Your mileage might vary.
Each of the buoyancy tanks received three coats of epoxy primer, which should be enough. No need for a gloss finish here!
Don’t forget to paint the undersides of the foredeck, side seats and sterndeck before fitting
Tanks are primed and ready to be sealed
All the transom and station 3 knees are now in place
Now the floor needs to be sheathed with 30gsm matt, covering the sole joints to add extra strength, and provide abrasion resistance. A second coat of epoxy will minimise any unsightly overlaps, which can then be sanded out later
Another cup of tea with Doriano crackers is always welcome
The floor has been matted. The square section blank is for the mast
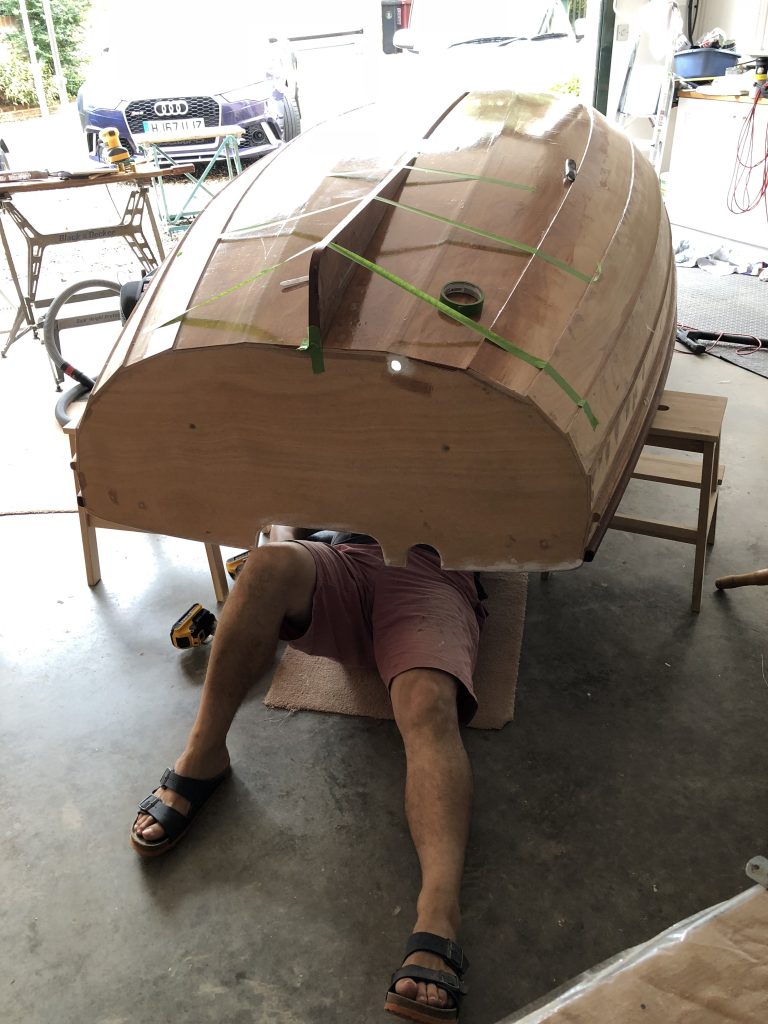
The interior has to be faired to get rid of any dribbles and screw holes, and there’s no easy way, even with a good orbital sander. This is noisy work, as the hull acts like a loudspeaker. My neighbours have barely forgiven me!
Apologies for the dodgy outfit, but it was over 30 dgrees outside!
Lastly, the whole interior is primed with epoxy, ready for the final finish
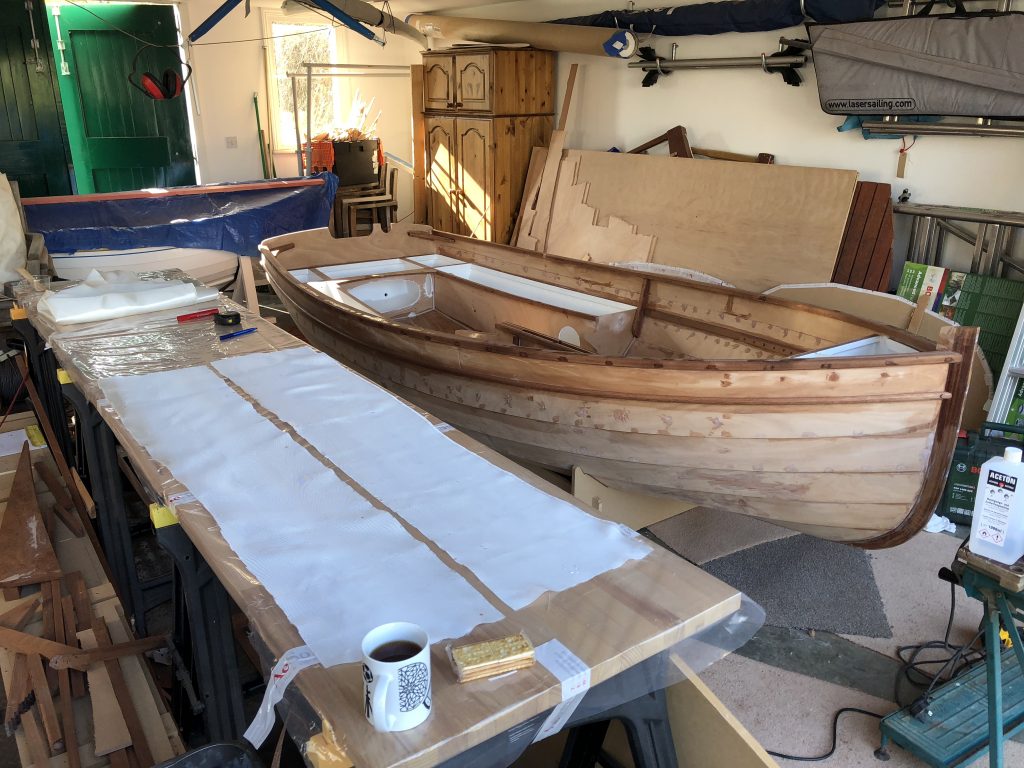
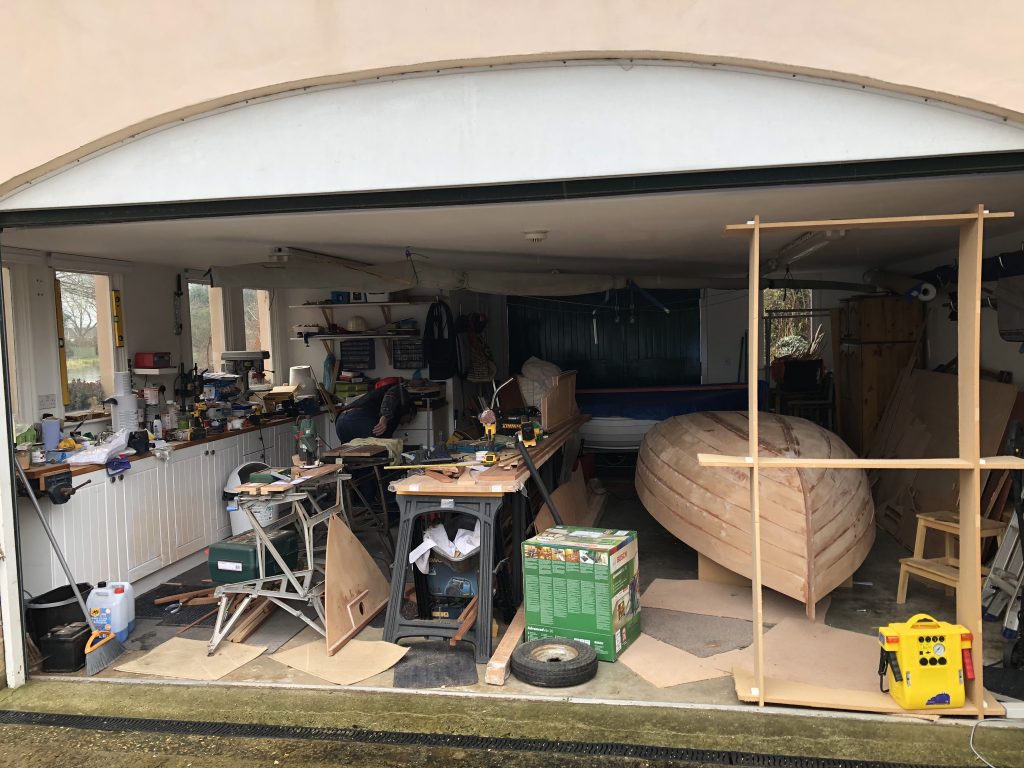
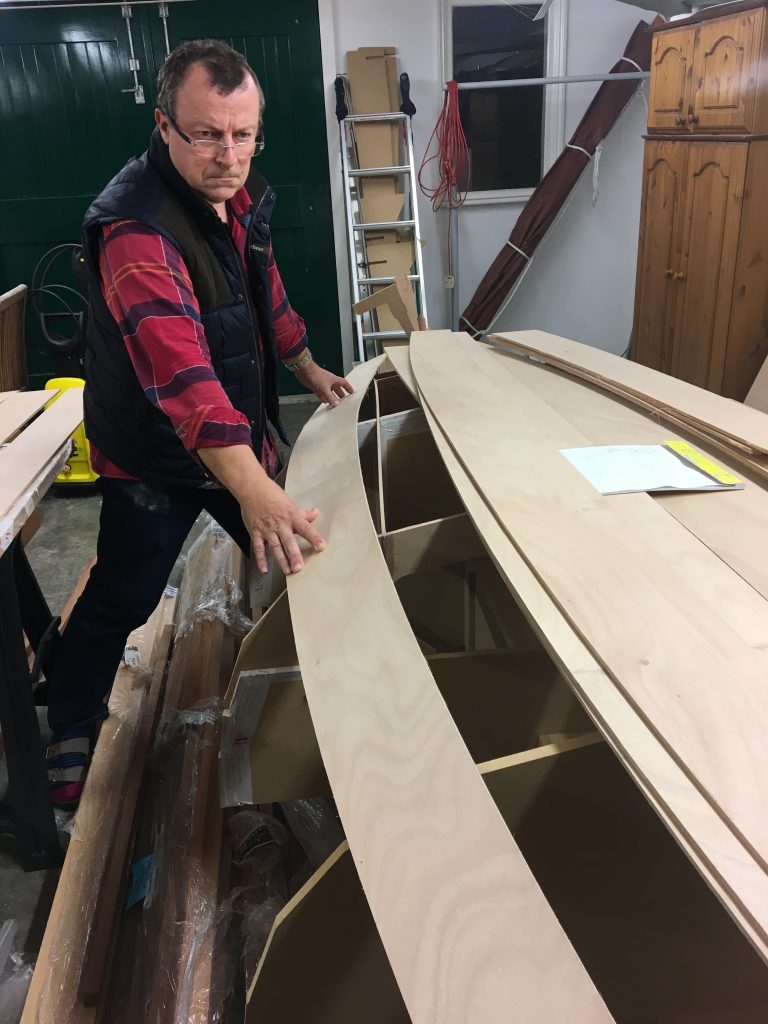
Now the time has come to lift the hull off the frame and turn it over, to build the innards. The kit includes MDF parts to make a cradle to keep the hull in shape while you work.
The cradle assembled at front, before the turnover. Note the foredeck subassembly
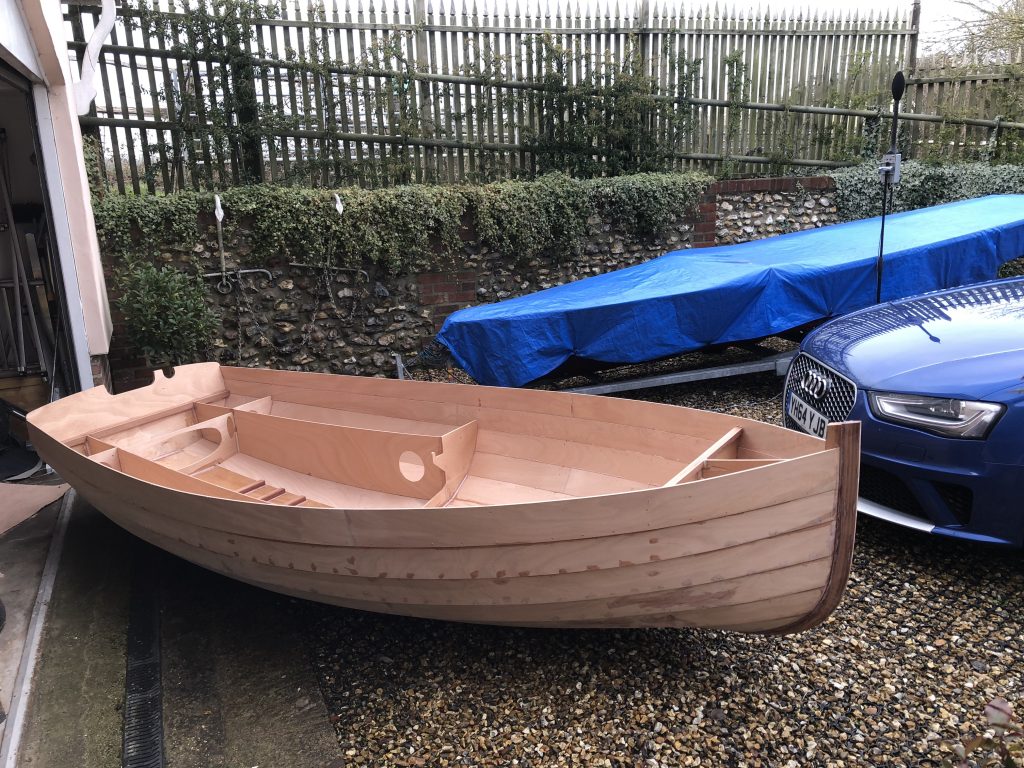
All that remains is to undo the bolts fastning the hull to Stations 1, 3 and 5, and lift off. An easy one man/one Italian job. A few clicks and crack, but it all came away easily, and although being very light, the hull was already nice and stiff.
Very light and stiff. A real boat at last!
Initially I thought the cradle was designed to sit on top of the MDF tunnel, which is fine for some of the work, but it quickly became clear it should be on the floor, so the tunnel/frames can now be disassembled and stored.
The rest was quite quick. I managed to break the back of this job while madam was away in Italy. The only trick to learn is the bevel the edge of each preceding strake, to give a good overlap for the epoxy, while making sure there’s not to much step inside the hull. The belt sander was a boon here, but I’m sure a proper boatbuilder will use a plane.
Notice I’ve also made the skeg, which you have to do yourself – there is no pattern or template in the kit, so make a cardboard template to get the curve of the sole right.
If I had to admit to a mistake, it was screwing the strakes to Station 5 before the inner stem, which meant the curve was not quite so fair – I should have read the Oughtred book once more as he warns against this. But you’ve got to look hard to see it!
Now all that remains is to fair off the overlaps at the bow (belt sander again!) and fit/trim the previously laminated outer stem
One of the nice things about building a boat is learning all the nautical terms for the bits and pieces. I must admit to be pretty clued up anyway, but I never really understood what was meant by the garboard. Now I know – it’s the next strake up from the sole.
This is where the beauty of CNC kits comes in – just by dry fitting the strake showed that everything was going to go together very neatly, with minimal fettling.
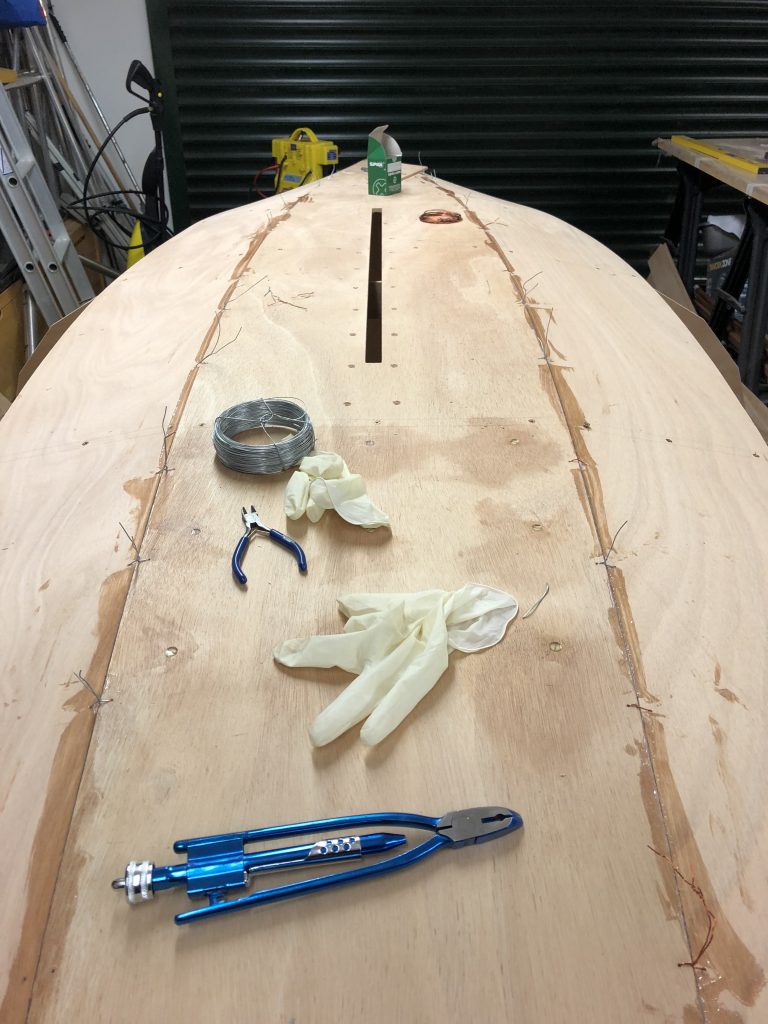
The joint between the sole and garboard is basically a butt joint, held together by stitch and glue. This is because the sole is thicker plywood than the garboard, so there’s a step at the joint. I remember the technique from when the Mirror dinghy was introduced, as it was basically used throughout. In practice the fit is so good, you can probably get away without stitching, as the joint is going to be taped afterwards. But orders is orders, so I tooled up with a handy gadget which I think was designed for fencing, but actually worked well in pulling the joint together.
The magic tool. I wonder if I’ll ever use it again!
The curve at the forward end of the strake is quite daunting, but it was not difficult to get it all screwed and glued to the inner stem with sacrificial screws.
Note the fillets on Station 1 inside the buoyancy tank
The strake can be screwed to each frame temporarily, but if I was building a varnished version, I might think of a better way of holding it all in place as per the Oughtred book.
Once the strake is glued to the longitudinal bulkheads, add some epoxy fillets on the inside of what will be the buoyancy tanks. It’s also worth getting underneath and wiping away any dribbles with acetone, otherwise it adds to the sanding work later on.
Now seemed a good time to drill and countersink the holes for the centreboard case log, otherwise that could be tricky once the hull is inverted.